In the shed where we keep gardening tools, there was a mess.
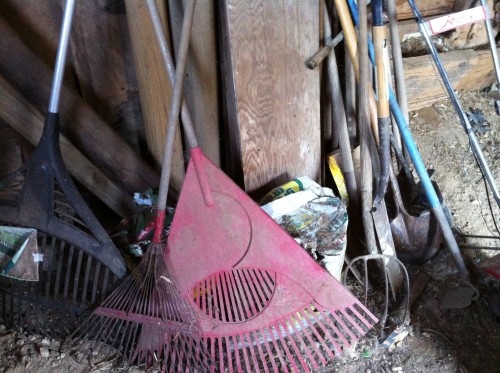
Dad wanted a thing to get all the long-handled tools up off the floor and out of the way. I started learning to weld a year ago, and have been bugging him for a project. These things combined beautifully when he designed a tool rack with me in mind.
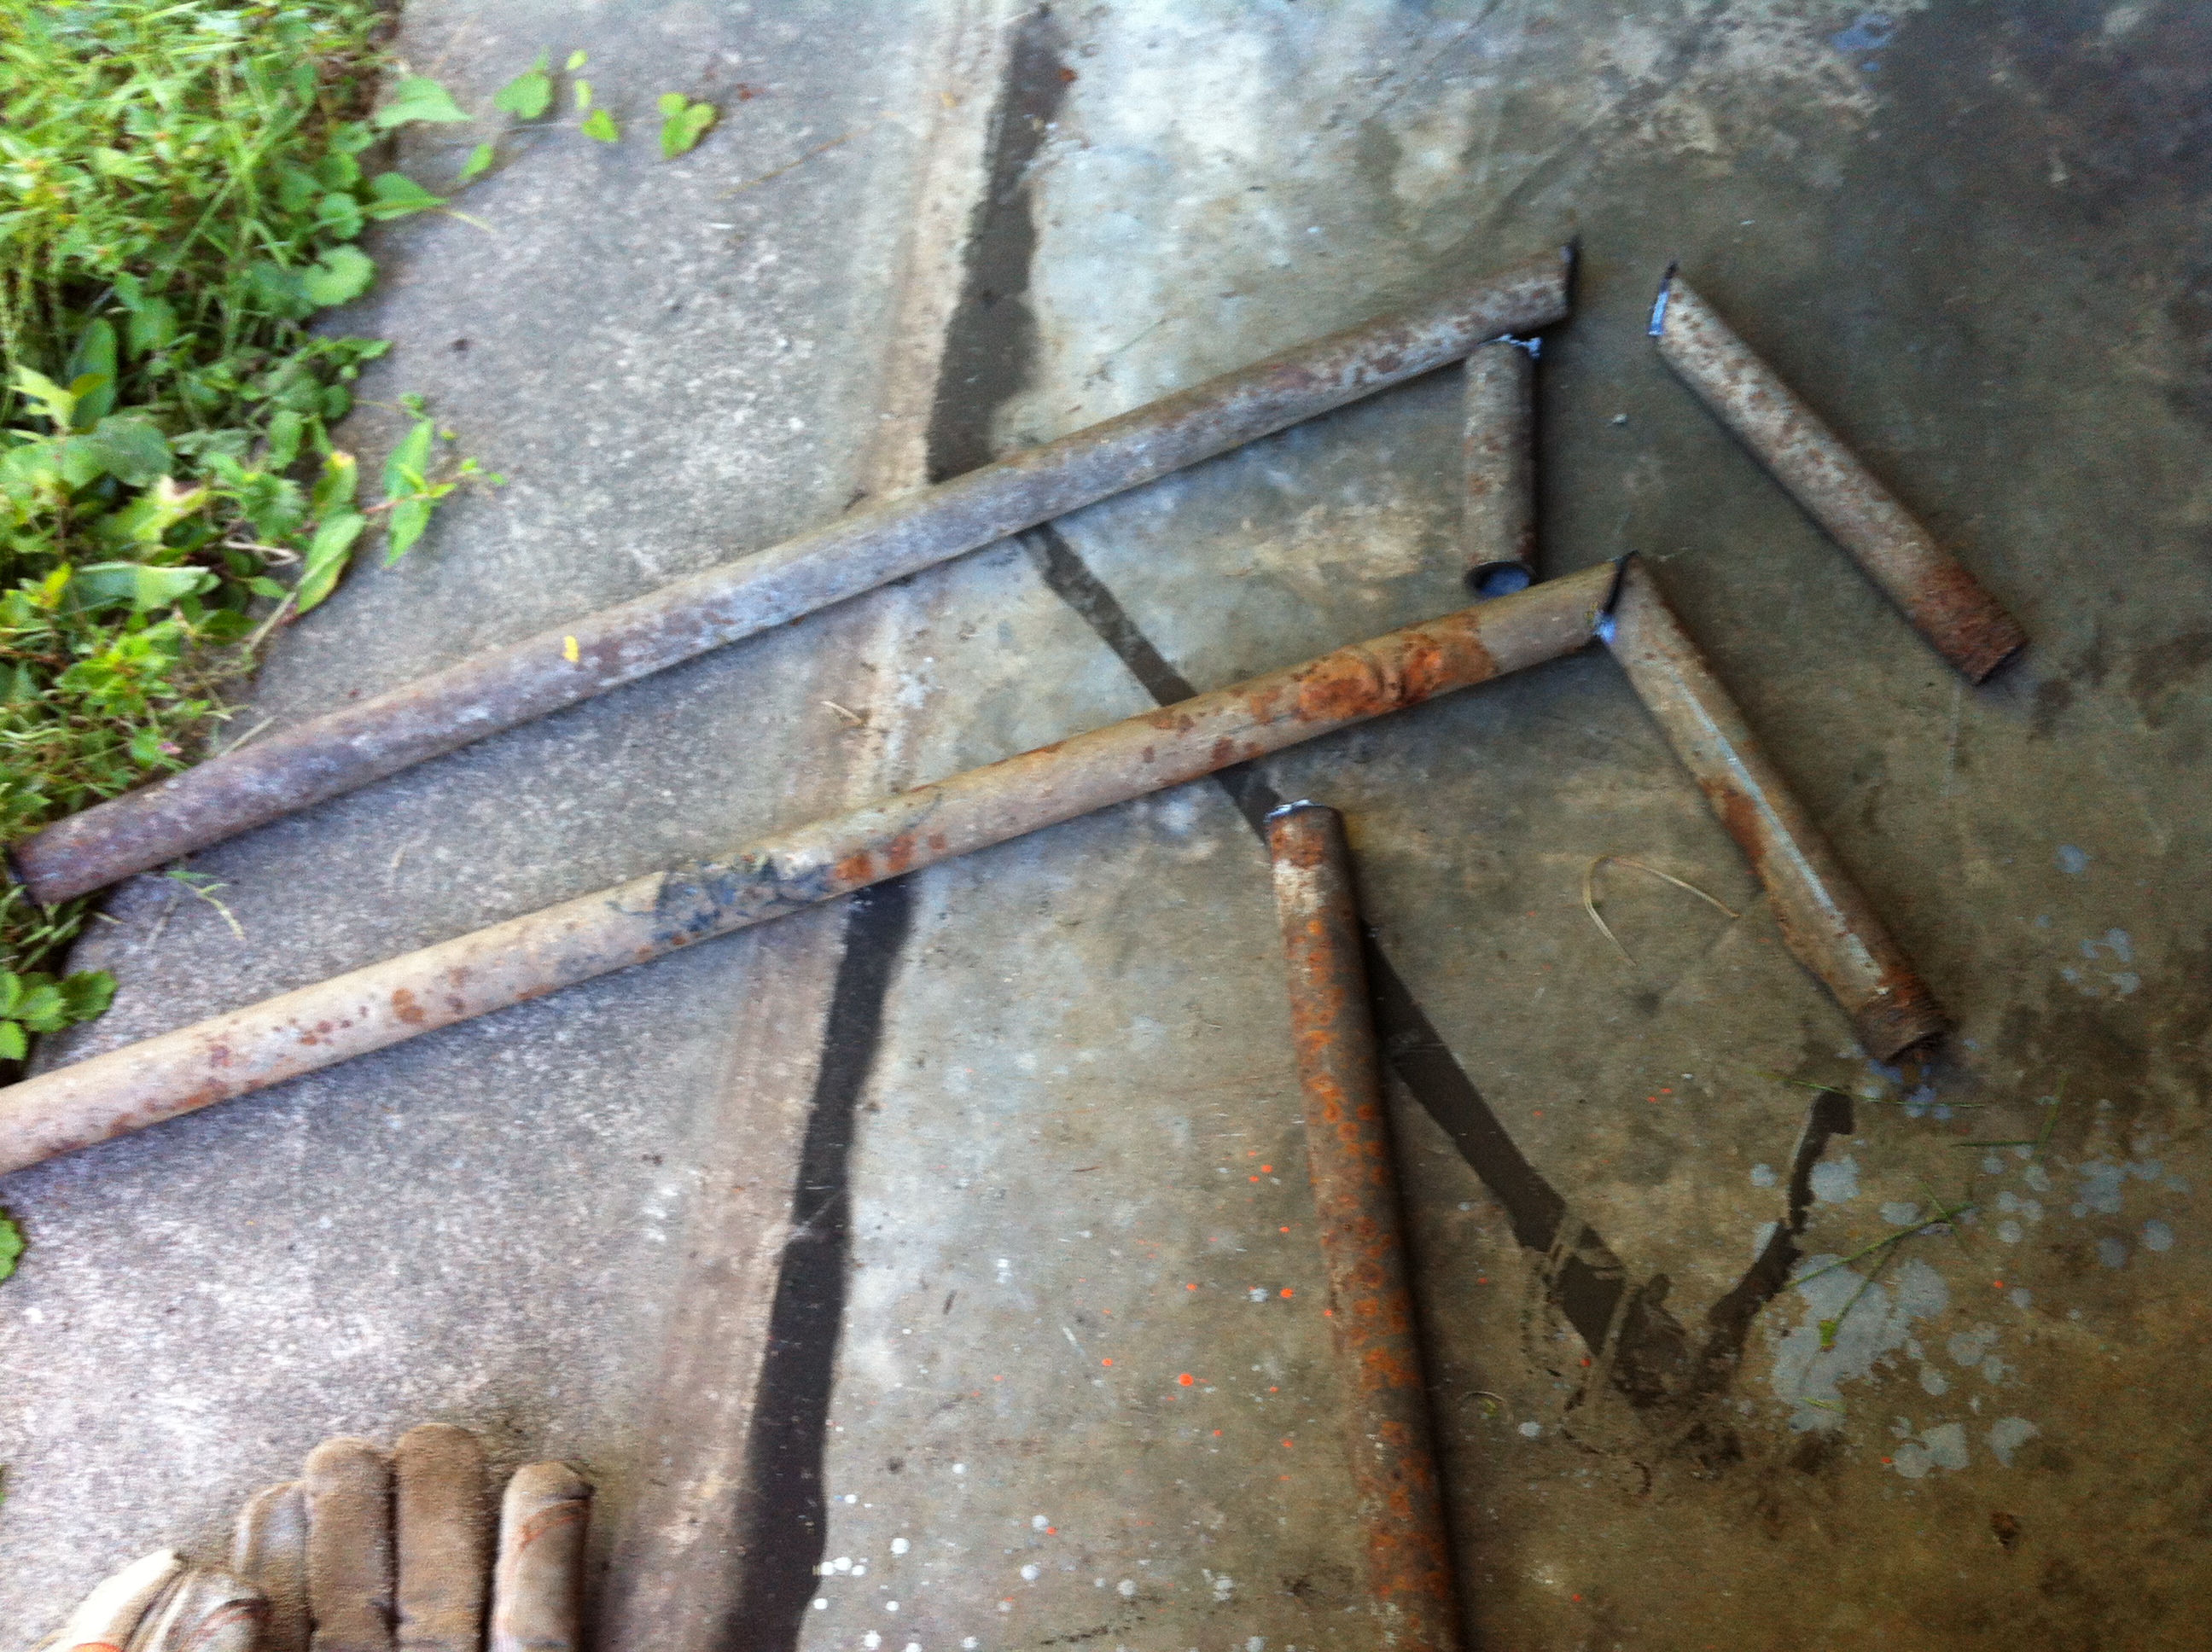
The shed has a cinder block wall with an open top. This design takes advantage of that: two legs slide into the open holes, while a third prevents the whole thing from tilting foreward. There are no fasteners involved anywhere and no modification of the environment.
The tools are hung on the two long horizontal pieces. It has a stack-like (LIFO) access pattern. Since a given season will have a subset of tools that get used, this is a reasonable arrangement. (My initial idea was for a flatter approach, with constant time access rather than O(n). It would take up more wall space, but pulling the hardest to get tool out would be much easier.)
The creation process involves the chopsaw, grinder/wirewheel, die grinder, and a stick welder. Cutting up metal and welding it back together again is exactly the project I was hoping for. :)
Overview
Most welding projects progress through the same general steps:
- Design and measuring
- Acquire source material(s)
- Cut long metal source into smaller pieces
- Modify pieces to be the right shape (fish-mouths, etc)
- Clamp the pieces together to get the fit right
- Tack weld; unclamp
- Weld :D
- (optionally) Finishing (grind down welds, clean, apply paint, etc)
Design, Measuring, etc
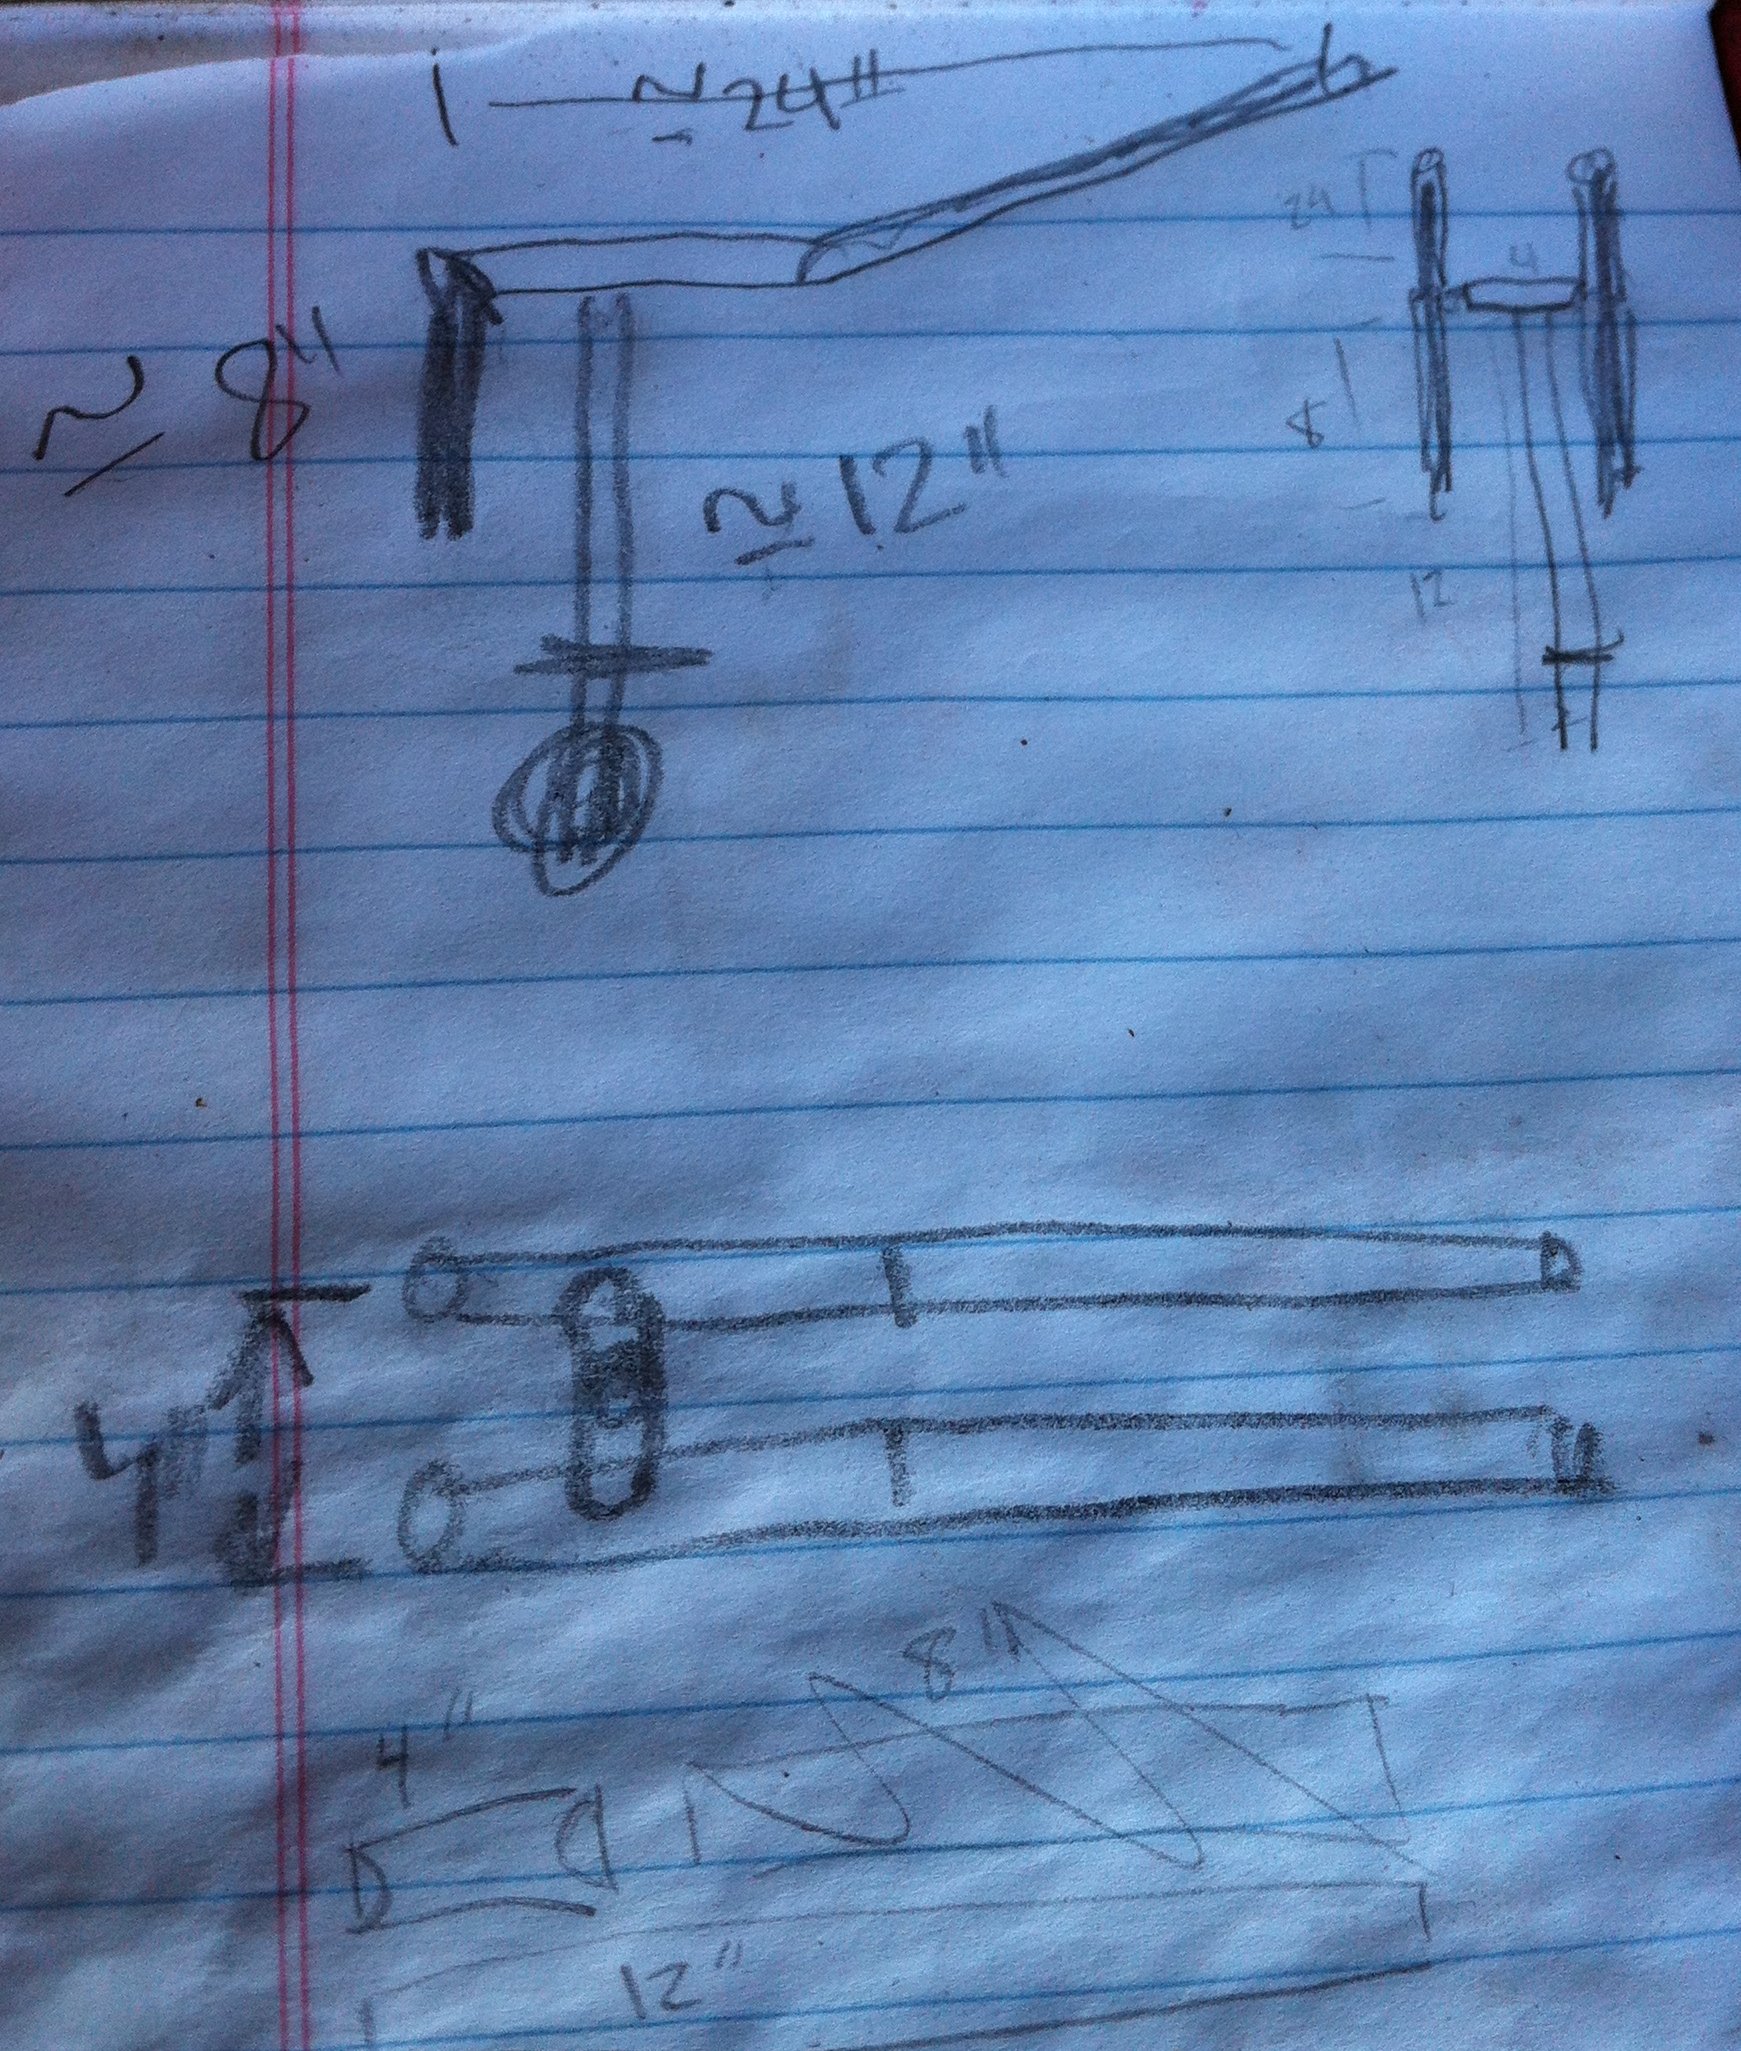
Dad came up with the design, and made the sketch. He had an idea of the approimate lengths of everything. Our first joint step was to go out and take measurements.
We measured the center-to-center distance of the cinder block holes, to see how far apart the two legs should be. We measured the thickness of the front wall, to see how far away the outside leg should be from the inside ones. We also measured the width of the largest and smallest tool heads. The smallest one was a check that the horizontal pieces would be close enough together to support it. The largest one would influence how far away from the corner to install the rack.
After we decided on the exact measurements, I sketched out a cut diagram and calculated how much pipe I would need.
Acquire Source Materials
One parameter of this solution was that it shouldn’t cost anything. There are a few piles of rusty steel around, so we spent part of an afternoon digging through them. The general goal was a long piece of 1.5inch pipe, since that diameter is appropriate for this project. The pipe that we used is one that I helped dig out of the ground (the bamboo hada good hold on it).
Cut Into Smaller Pieces
First, I made the straight cuts with the abrasive chop saw at 90 degrees.

Then I rotated the saw to not-quite-45-degrees to make a cut in the long pieces. If I got exactly 45, then the horizontal pieces would have been level. Instead, I intentionally moved them off by about 5 degrees, so that the ends would slope up a bit, helping the tools stay on the rack.
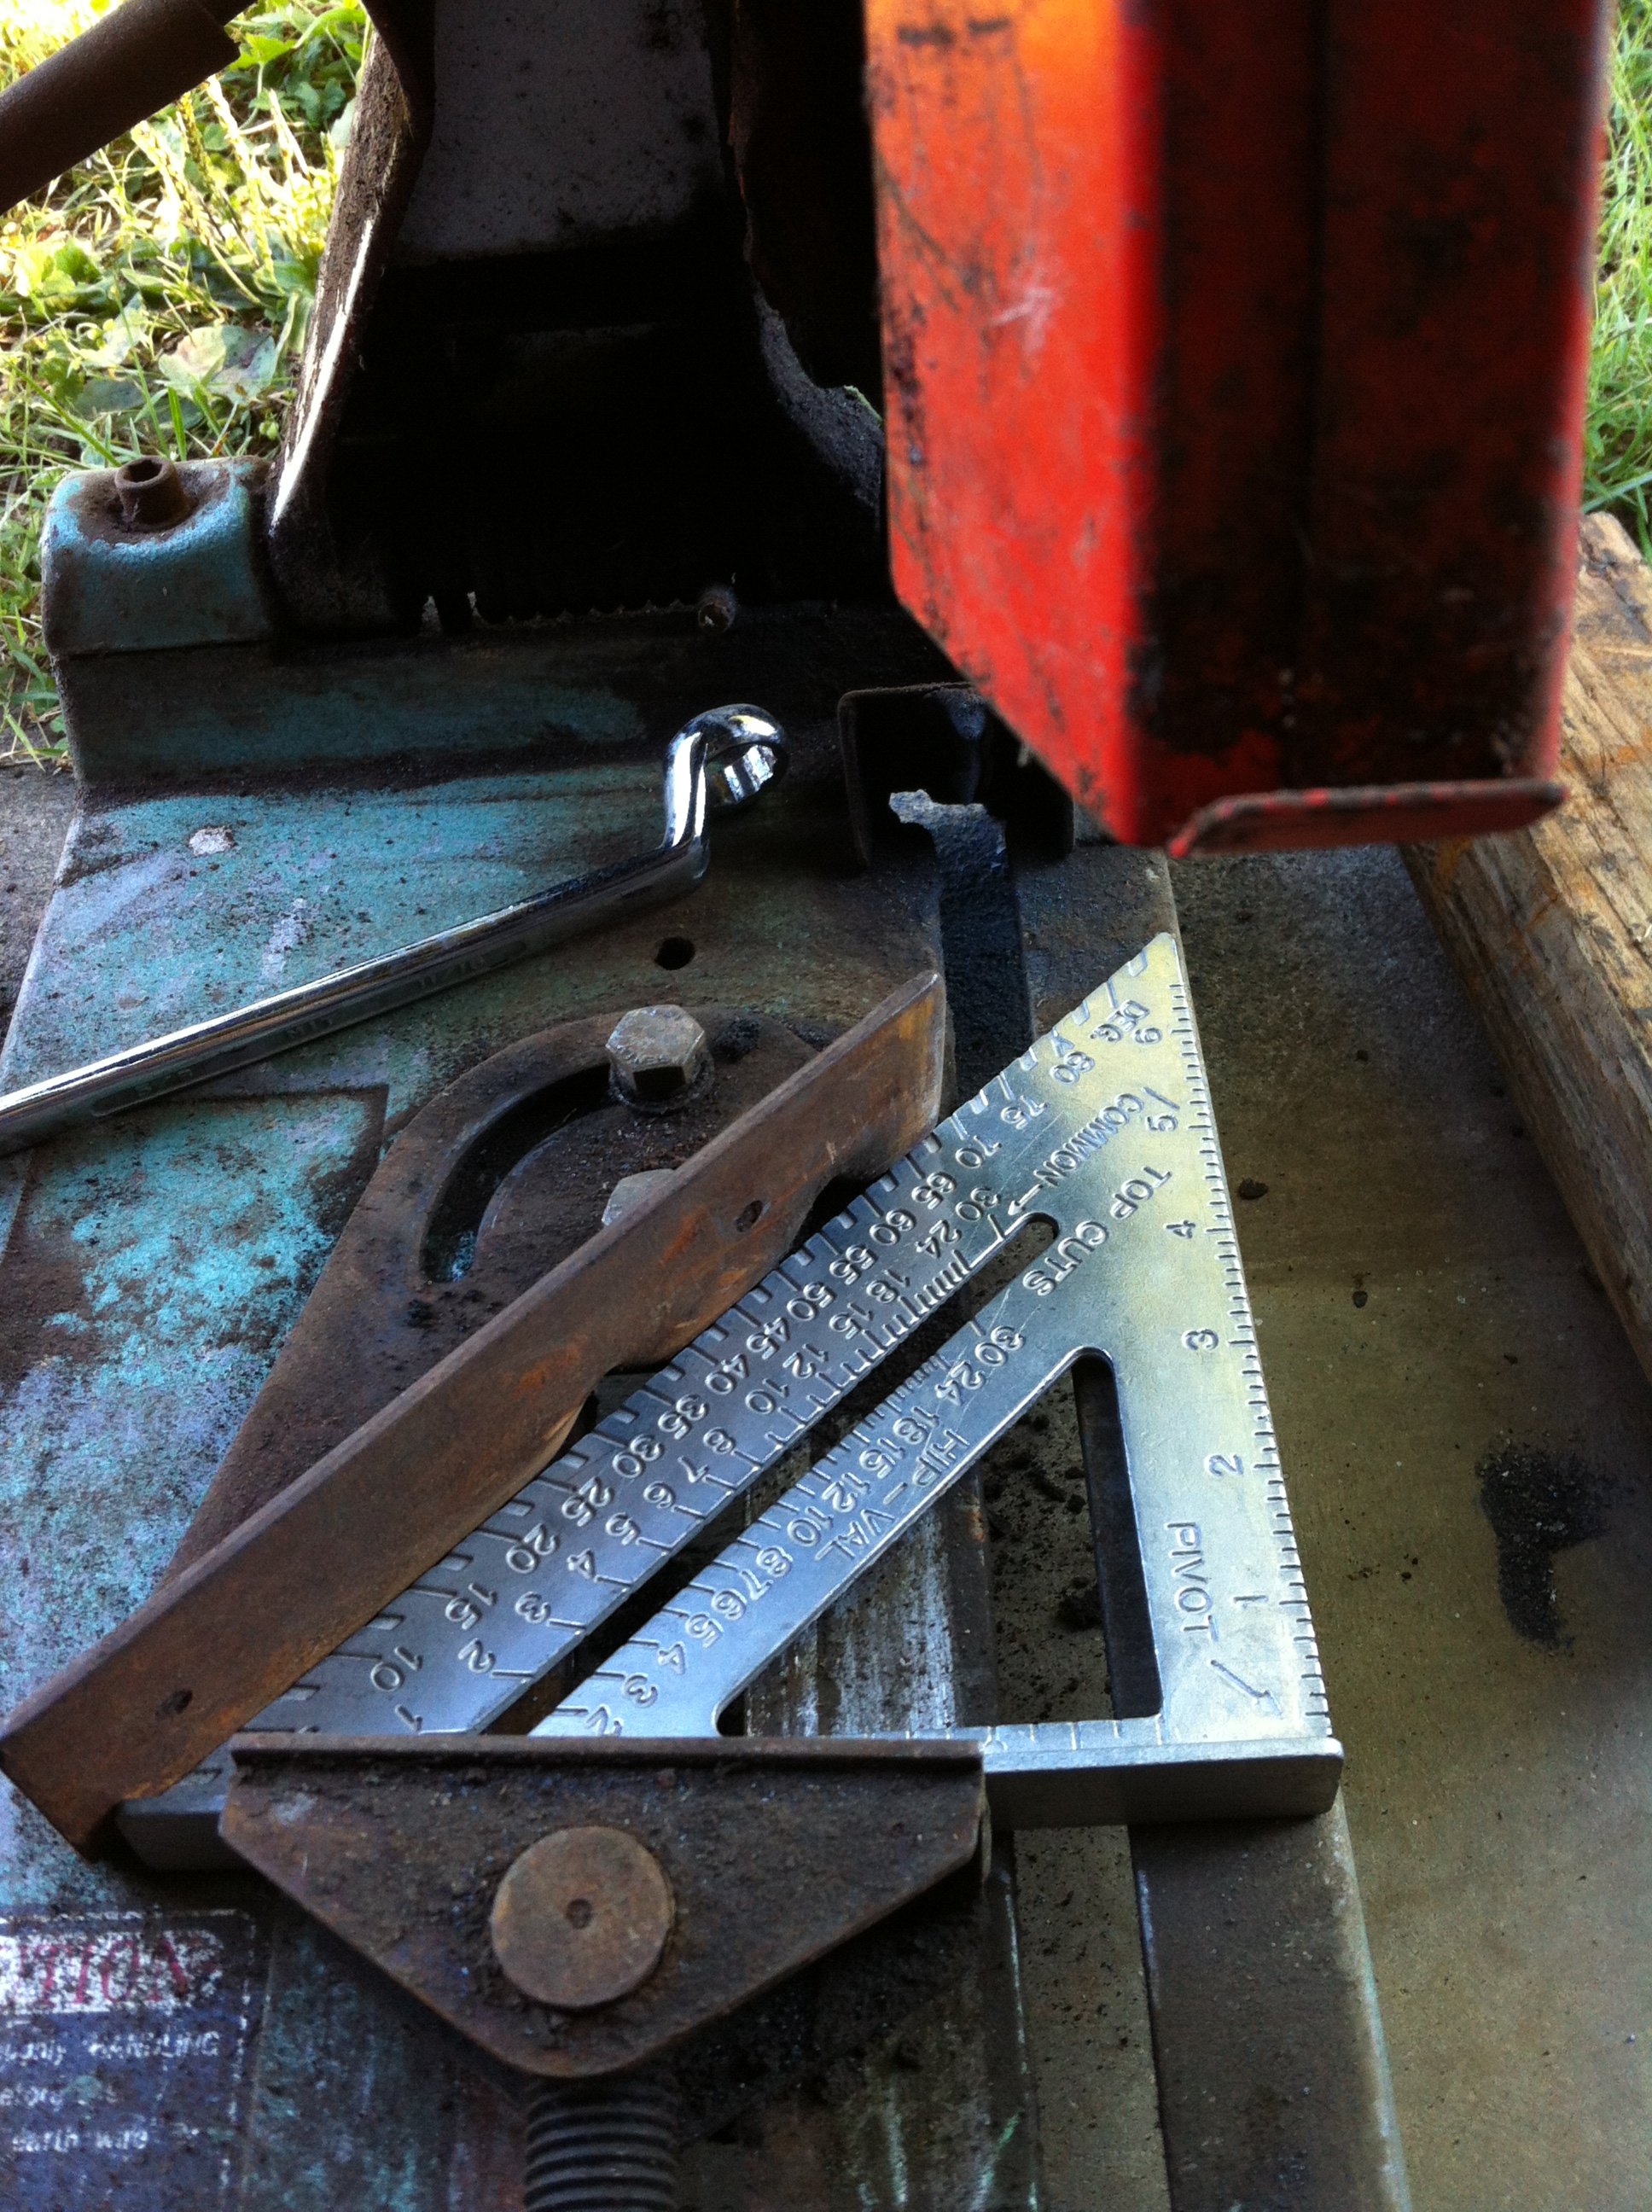
Adjusting the chop saw was neat since I hadn’t done that before. I used a wrench to loosen the two applicable bolts and a speed square to find the right angle. I hadn’t used the degree markings on the square before, so Dad had to explain how to used it. One of the hardest parts of the project for me was trying to simulate in my head how things would fit together, so that I could decide how things needed to be cut.
With all the pieces cut, I got to do a first very rough approximation of what it would look like.
This was useful to me as a sanity check that I had all the pieces cut, and that they had some chance of fitting together like the diagram.
Modify Pieces
While most of the pieces just needed the ends wire-brushed or ground down a bit, there were two than needed fish-mouths. Cutting a fish-mouth into the end of a pipe lets it fit onto the middle of another pipe, rather than only meeting at ends. The shortest piece needed two fish-mouths, since it sits between the two long horizontal pieces. The other piece without a 45-ish angle needed one fish-mouth, since it attaches in the middle of the short piece.
Dad did the fish-mouths for me. He cut them by hand with a pneumatic die cutter. In a welding class I took in Boston, we cut fish-mouths using a special jig and a hole-saw on a drill press. The drill press version is more exact and rather safer, but considering I was going to stick weld this together, I have about 1/8in of wiggle-room anyway.
Clamp, Tack, Clamp, Tack, etc
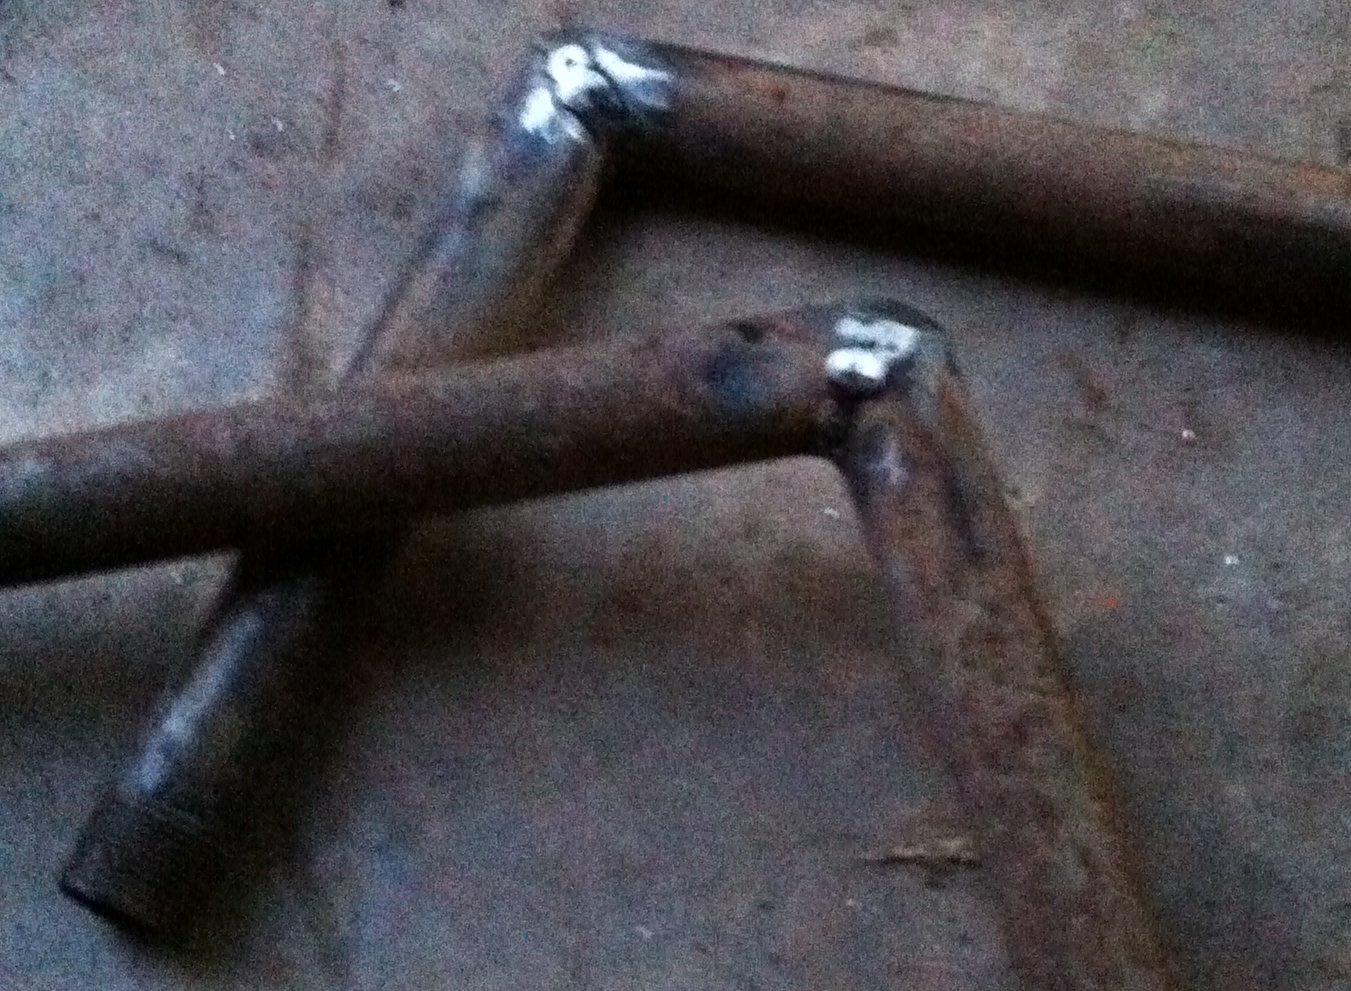
The first two welds were the 45-ish angles. I clamped the first pair down, tack welded on opposing sides, unclamped it, and then welded all the way around. And then clamped the second pair to the first, so that they’d match pretty closely. I forgot to take pictures of that part. Because I could, I then ground down the ugly stick welds.
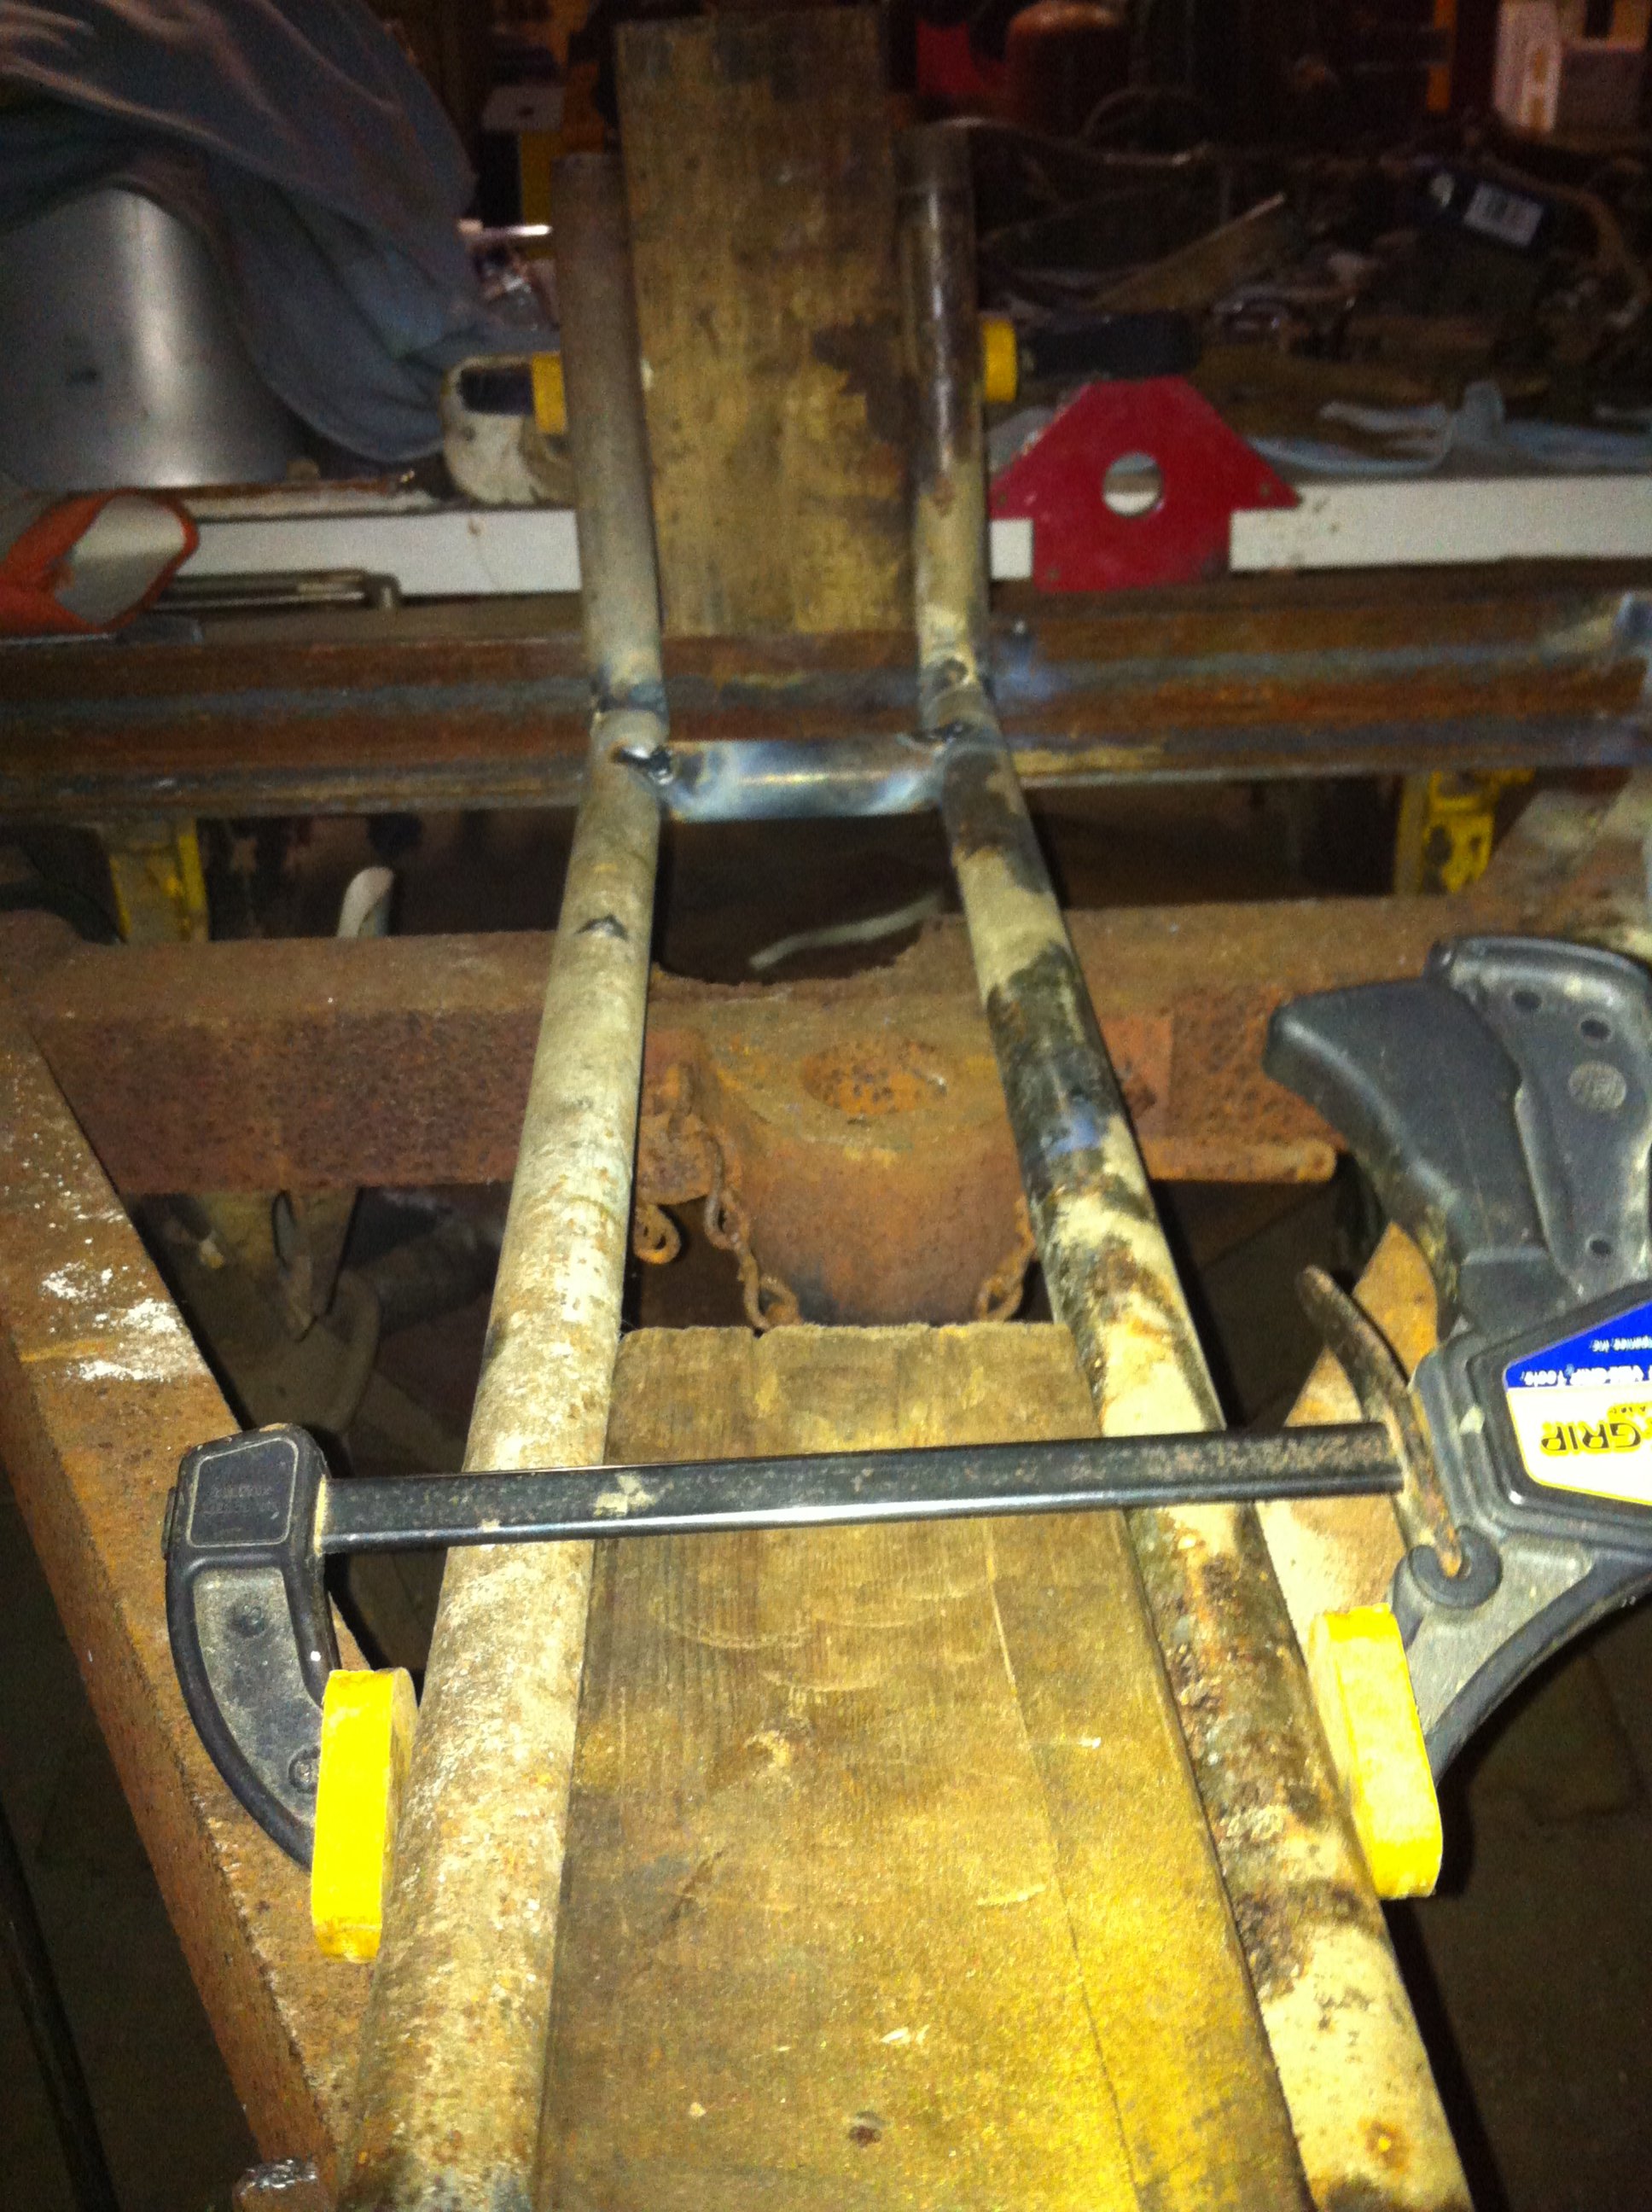
After that, the clamping was greatly assisted by the distances being equal to the size of a 2x4. First, we positioned and clamped the small piece, and then I tacked it in place.
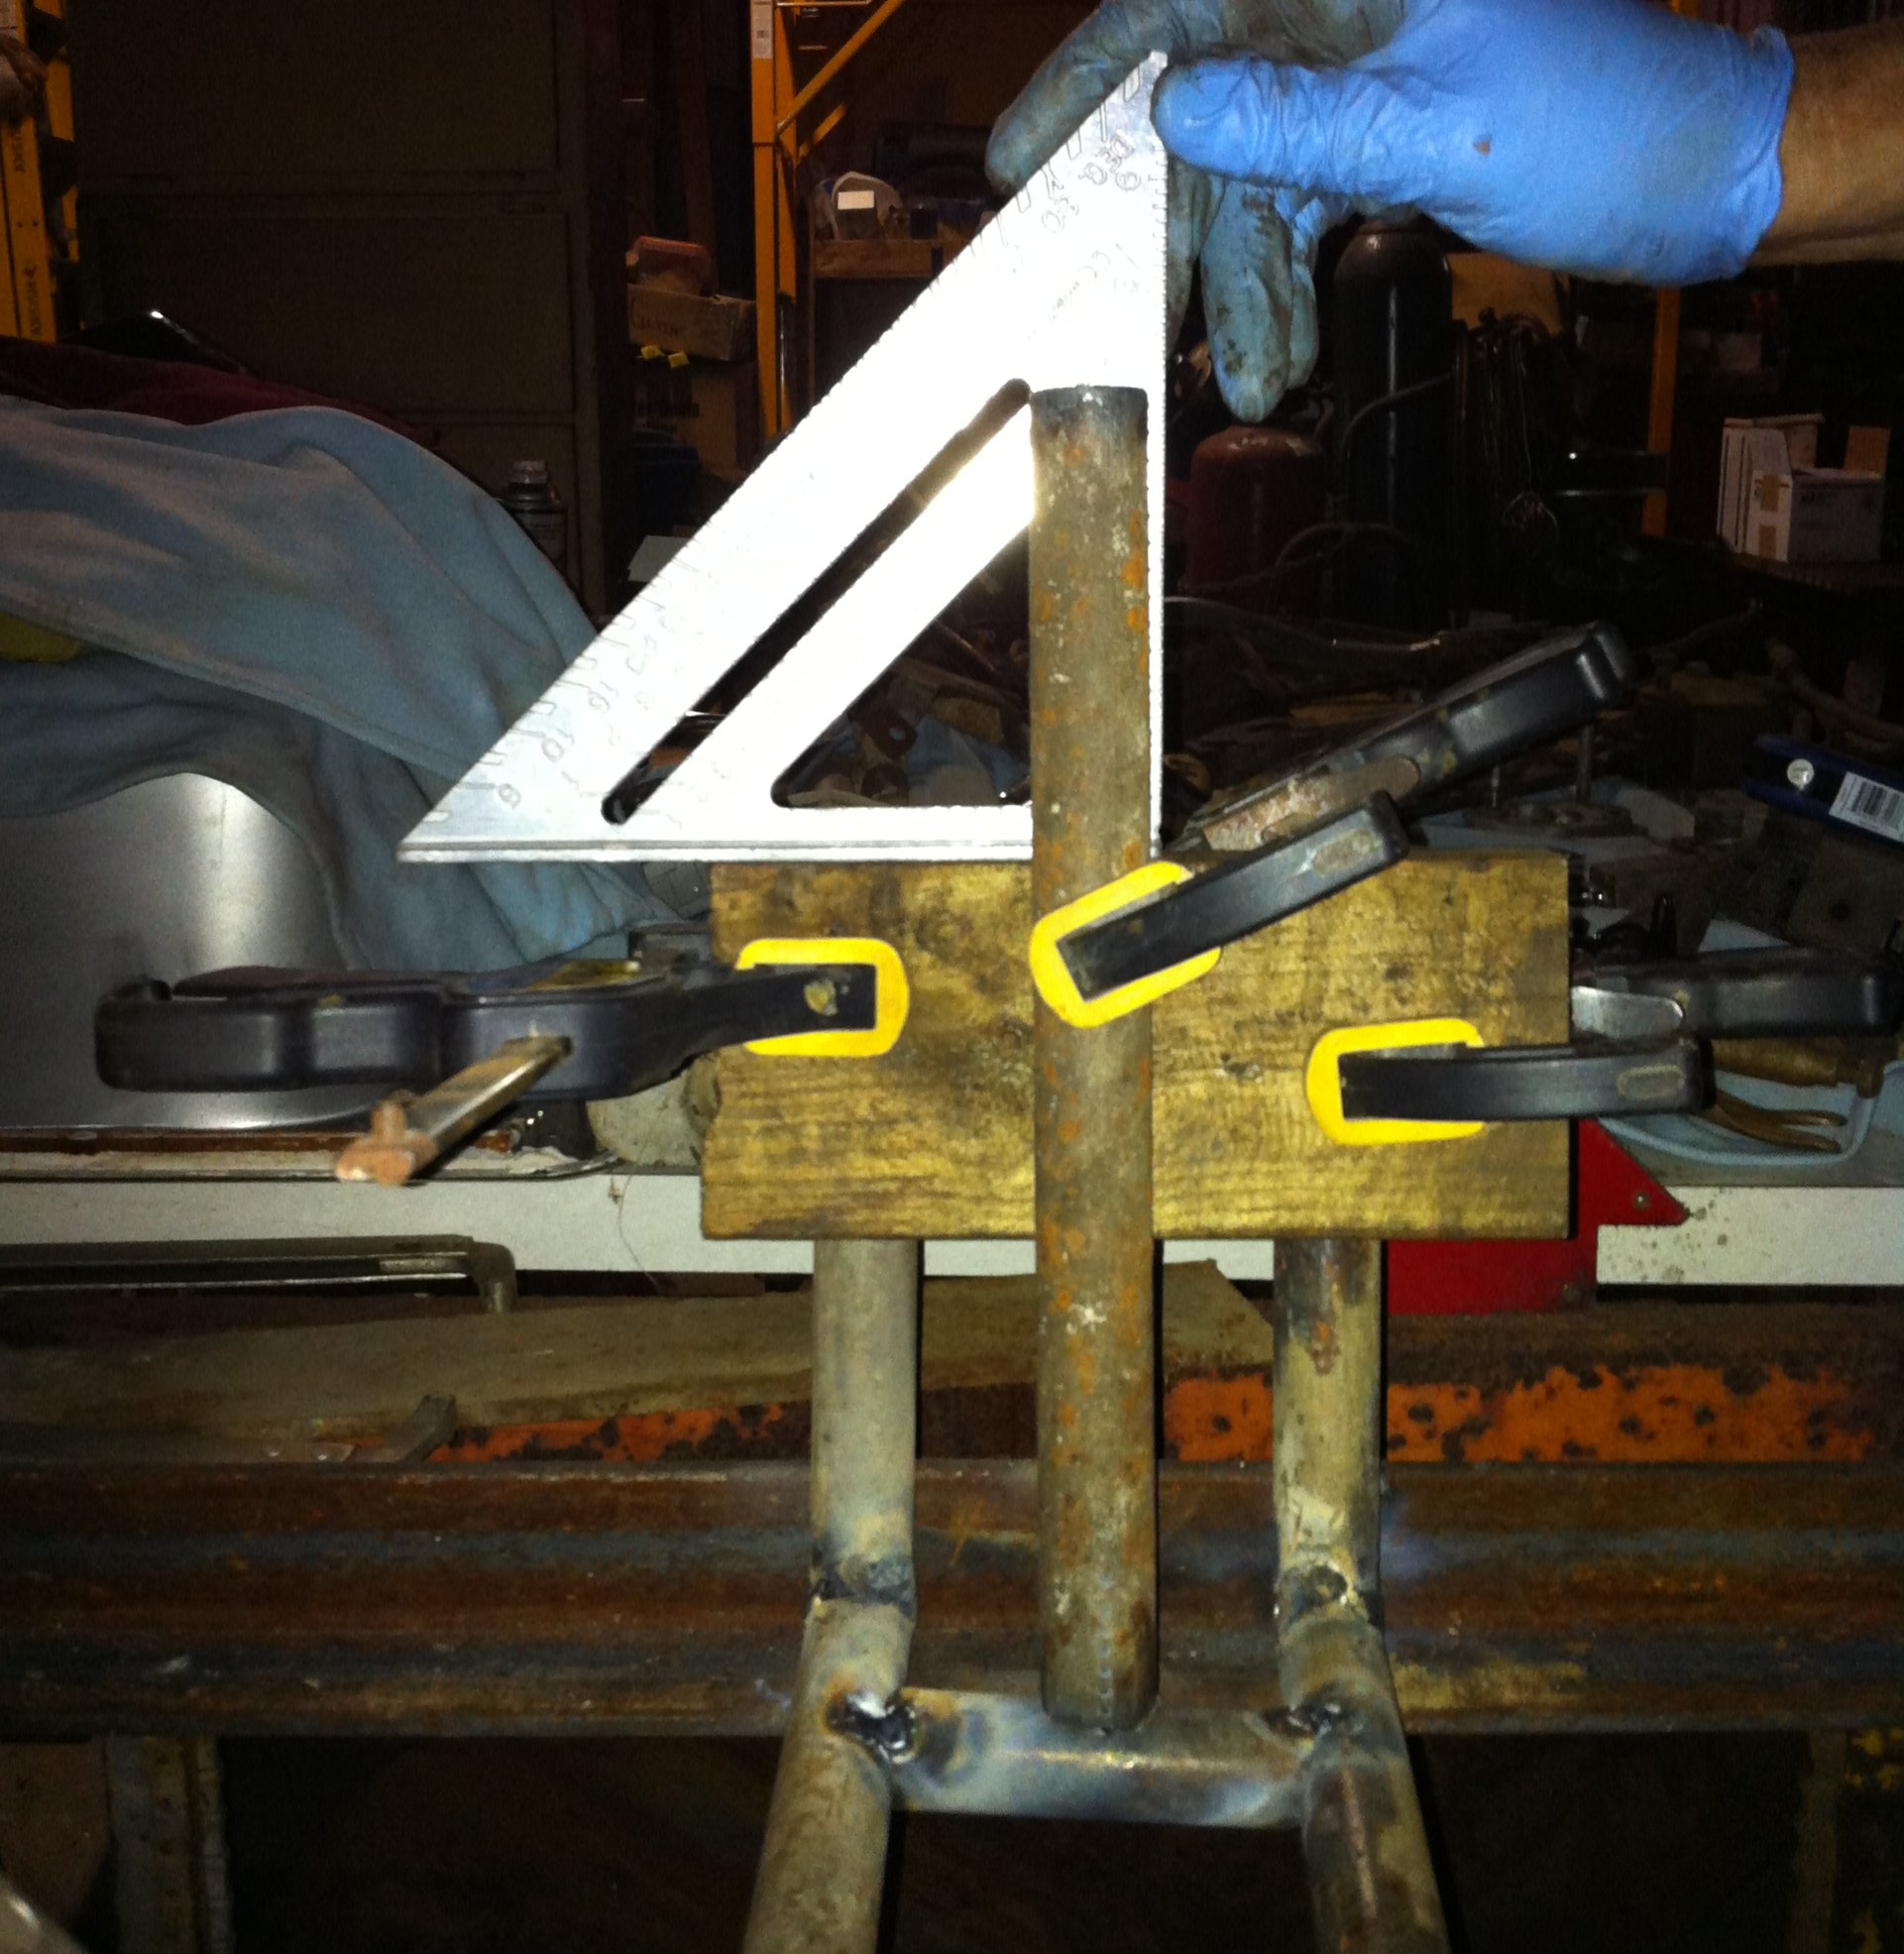
Then we clamped the veritcal piece that connects to the small one. This required centering and vertical-ing (leveling?).
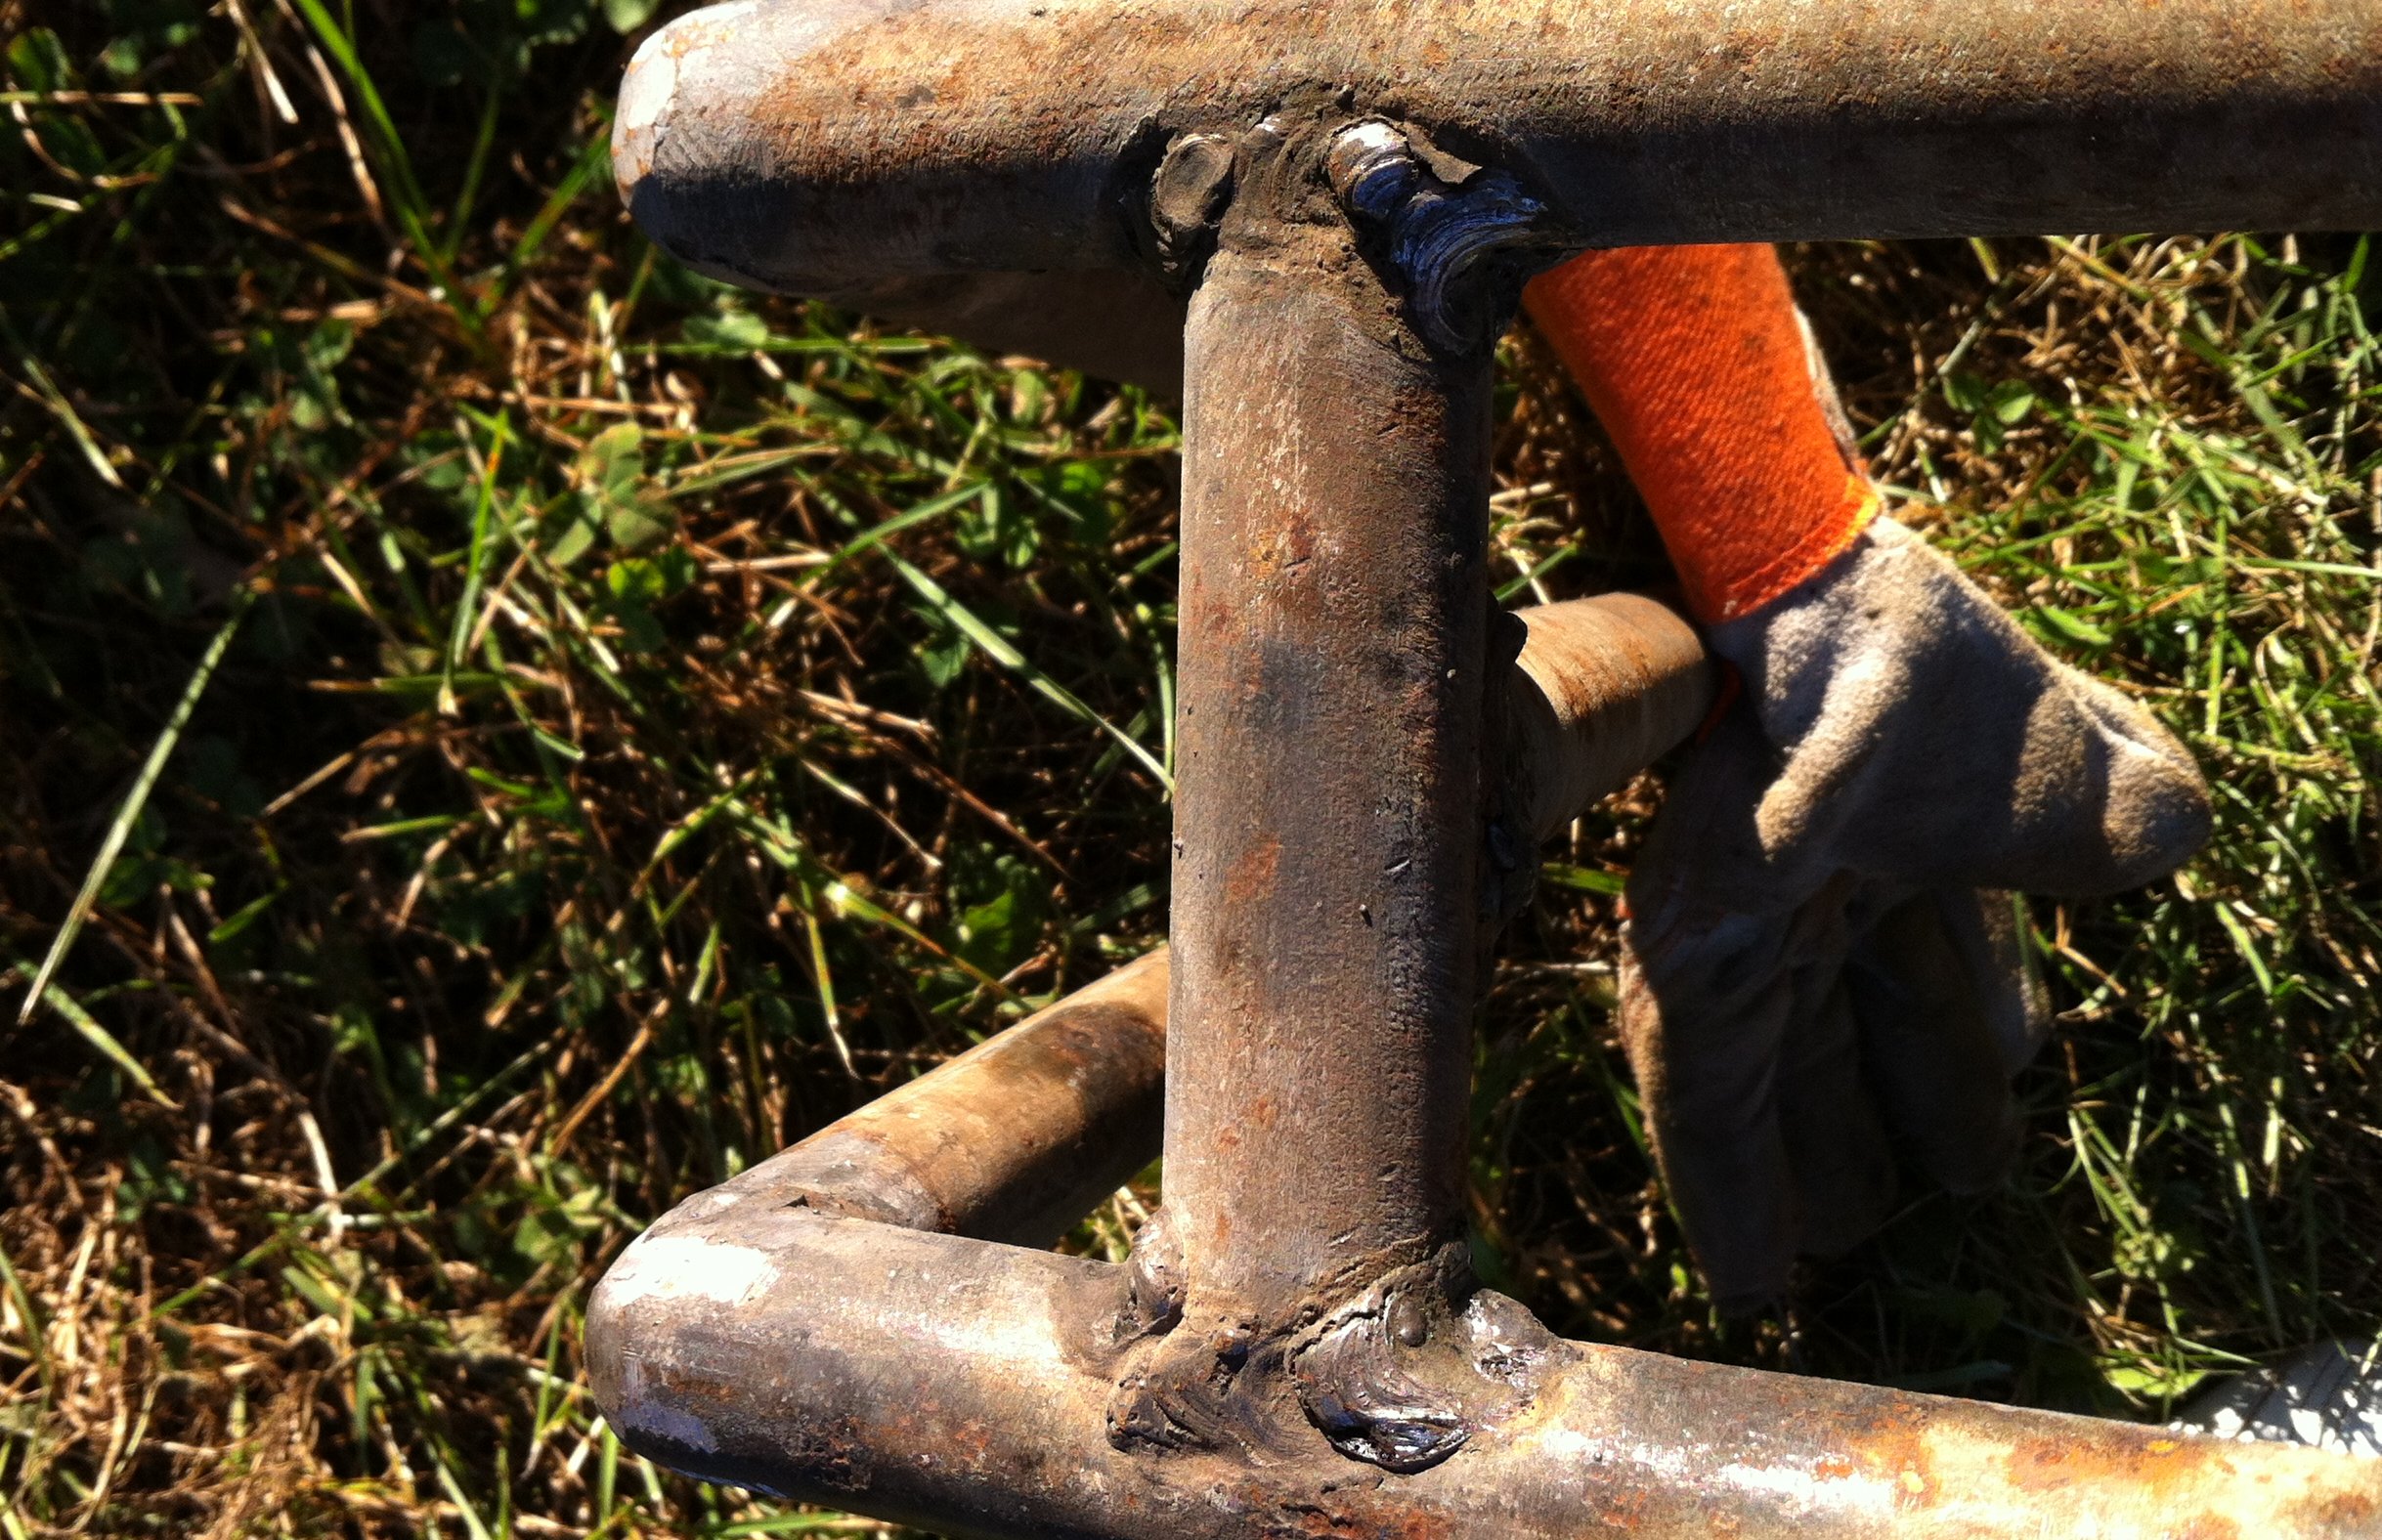
After I’d done all the tack welds, we tested it on the side of the (in-progress) trailer. It also happended to be the right size.
I also went and tested the fit on the wall itself. It fit perfectly. And then, without thinking about tack welds, I pulled hard on the ends to make sure that it was down in the wall and everything. The tack welds on the fish-mouthed piece immediately gave way.
I re-clamped it and re-tacked it. It turned out fine, but less perfectly aligned than the first time. Next time I’ll be more aware of tack welds being weak.
- Weld :D
With everything tacked together, I did the full welds. That was fun and messy and went fairly well. Dad was happy with them in general.
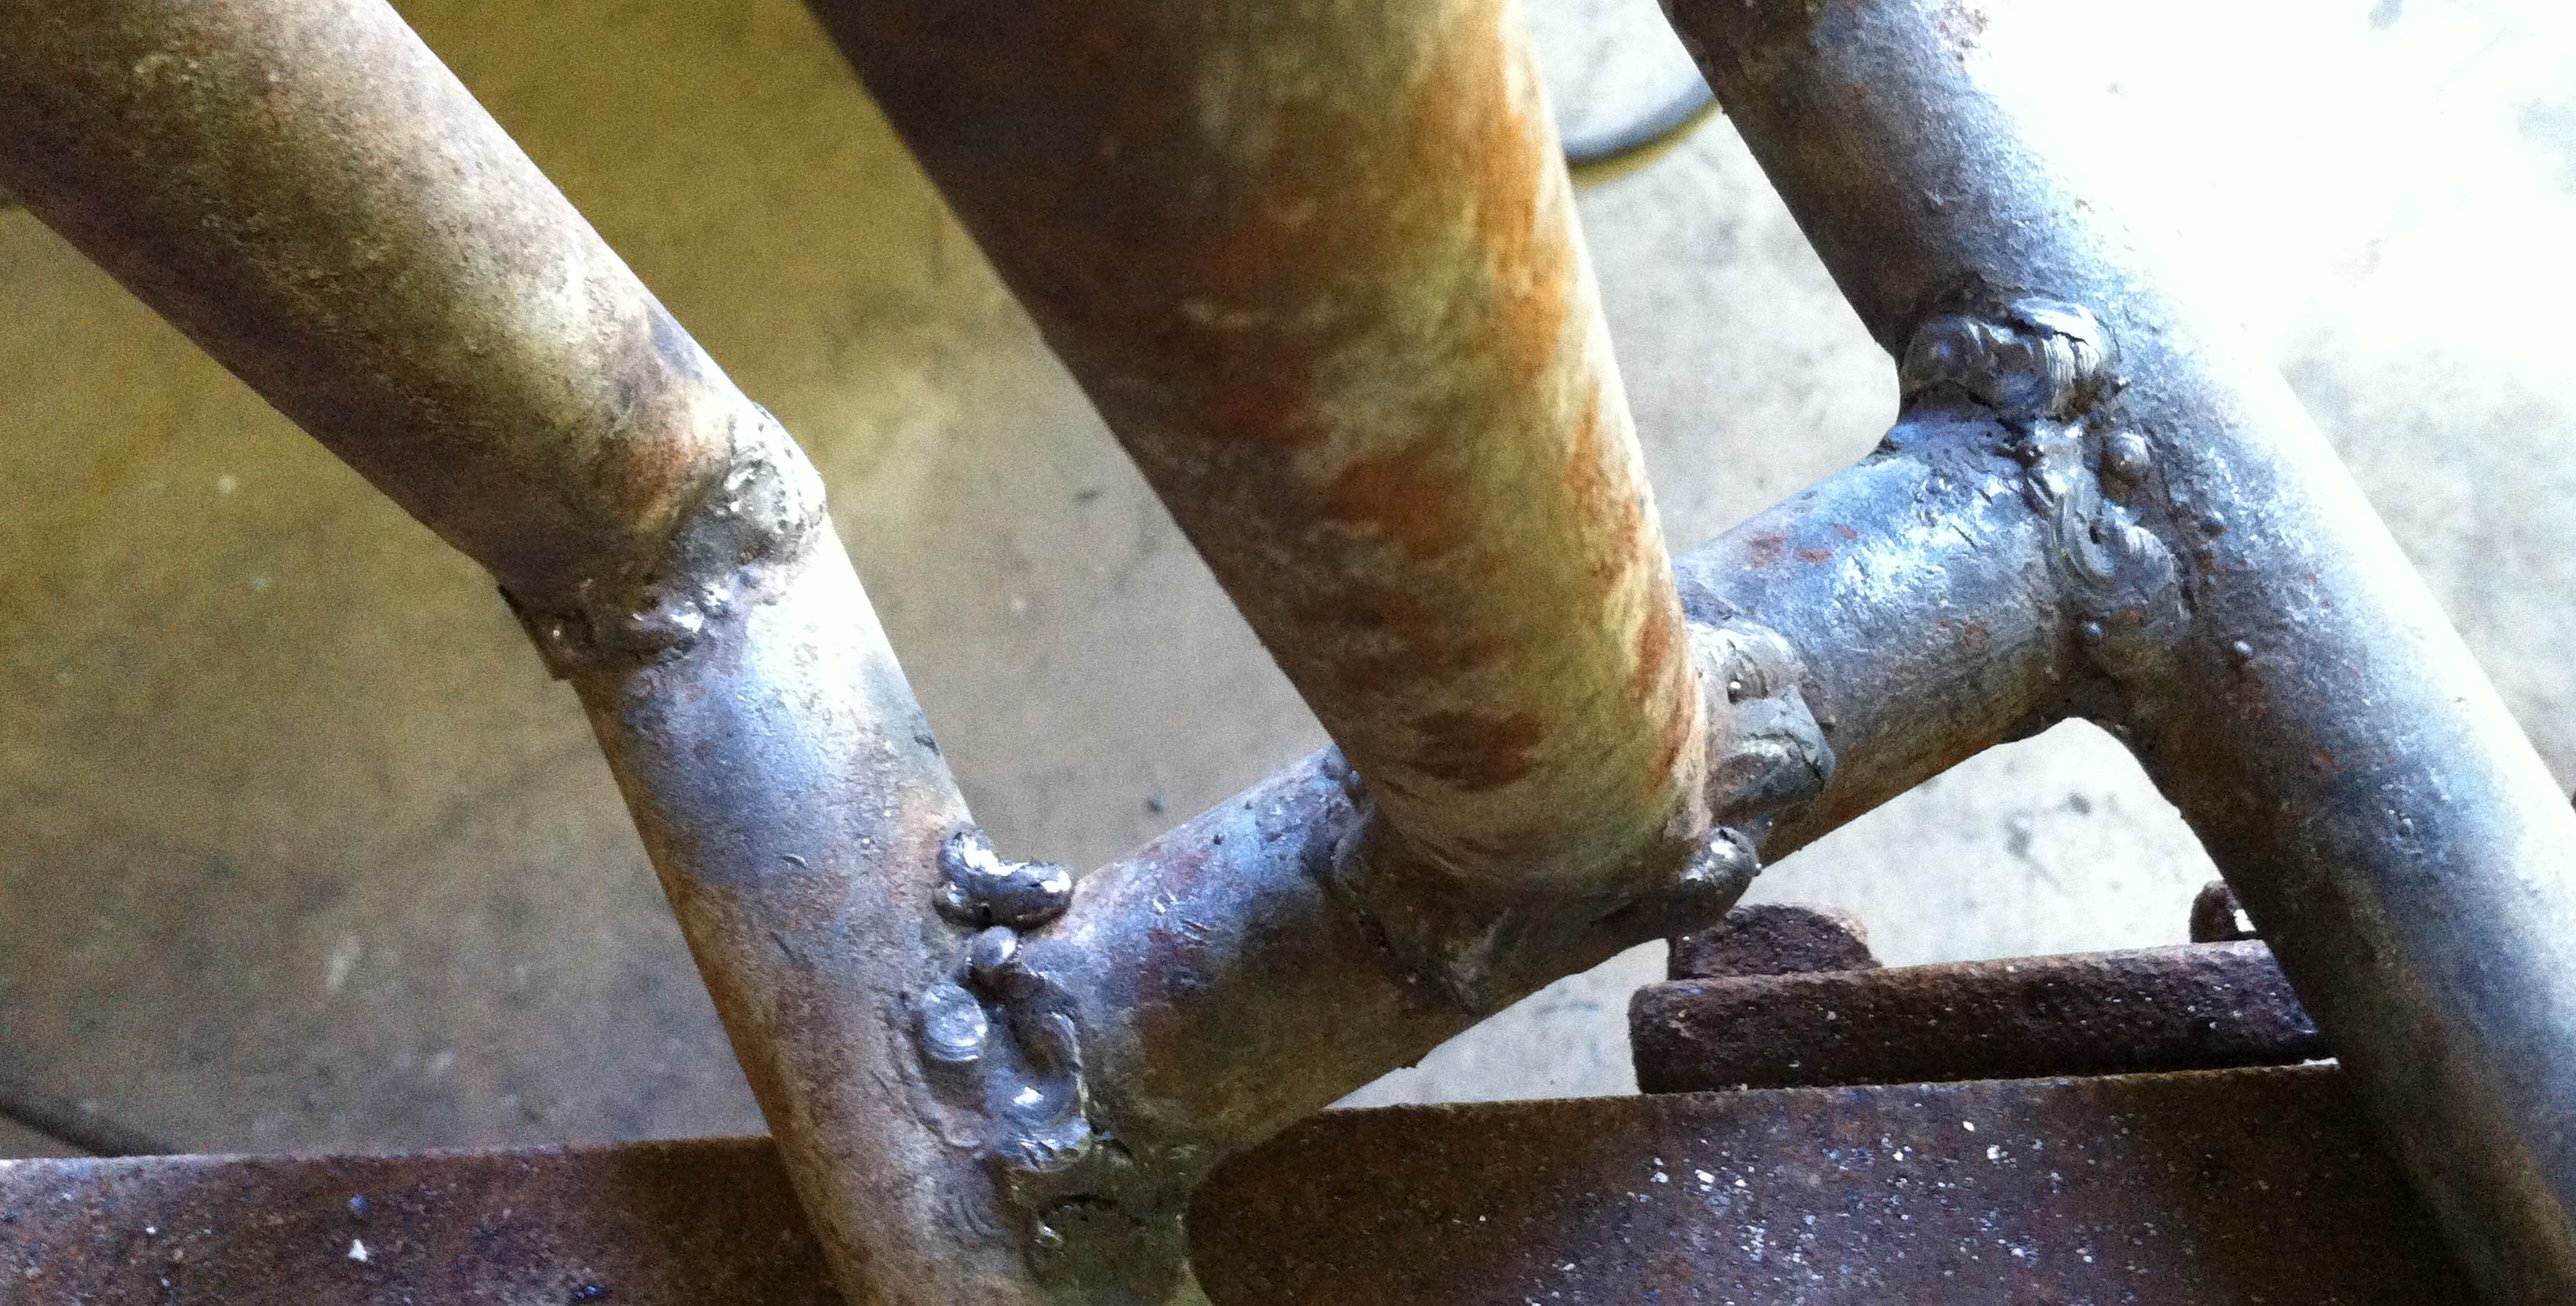
I think they’re ugly compared to my TIG or even MIG welds. That’s partially because I’ve had less experience with stick welding, so I’m worse at it.
It’s also partially because stick welding is naturally messier. It throws slag and smoke and sparks everywhere while you’re welding; this makes it harder to see what you’re doing. The torch is harder to control because it’s constantly changing length as you consume the electrode.
Finishing
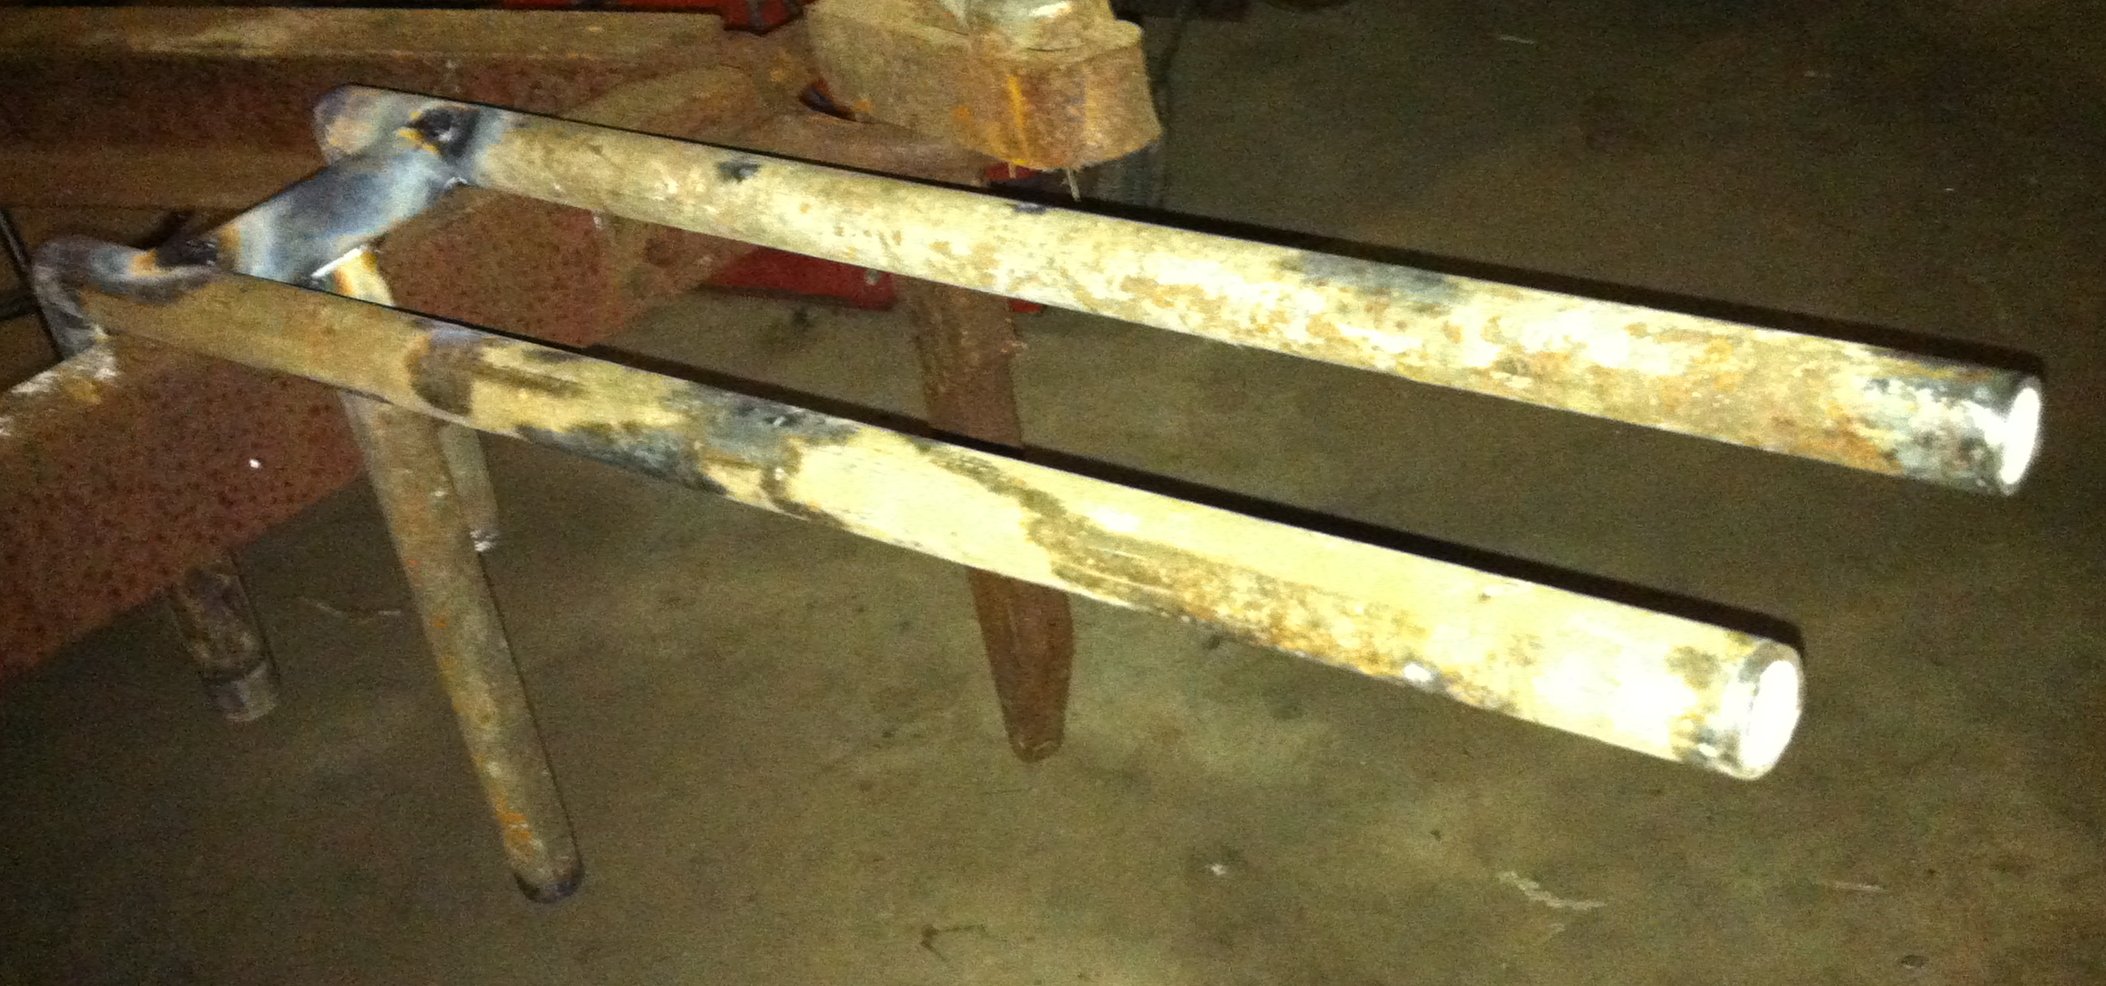
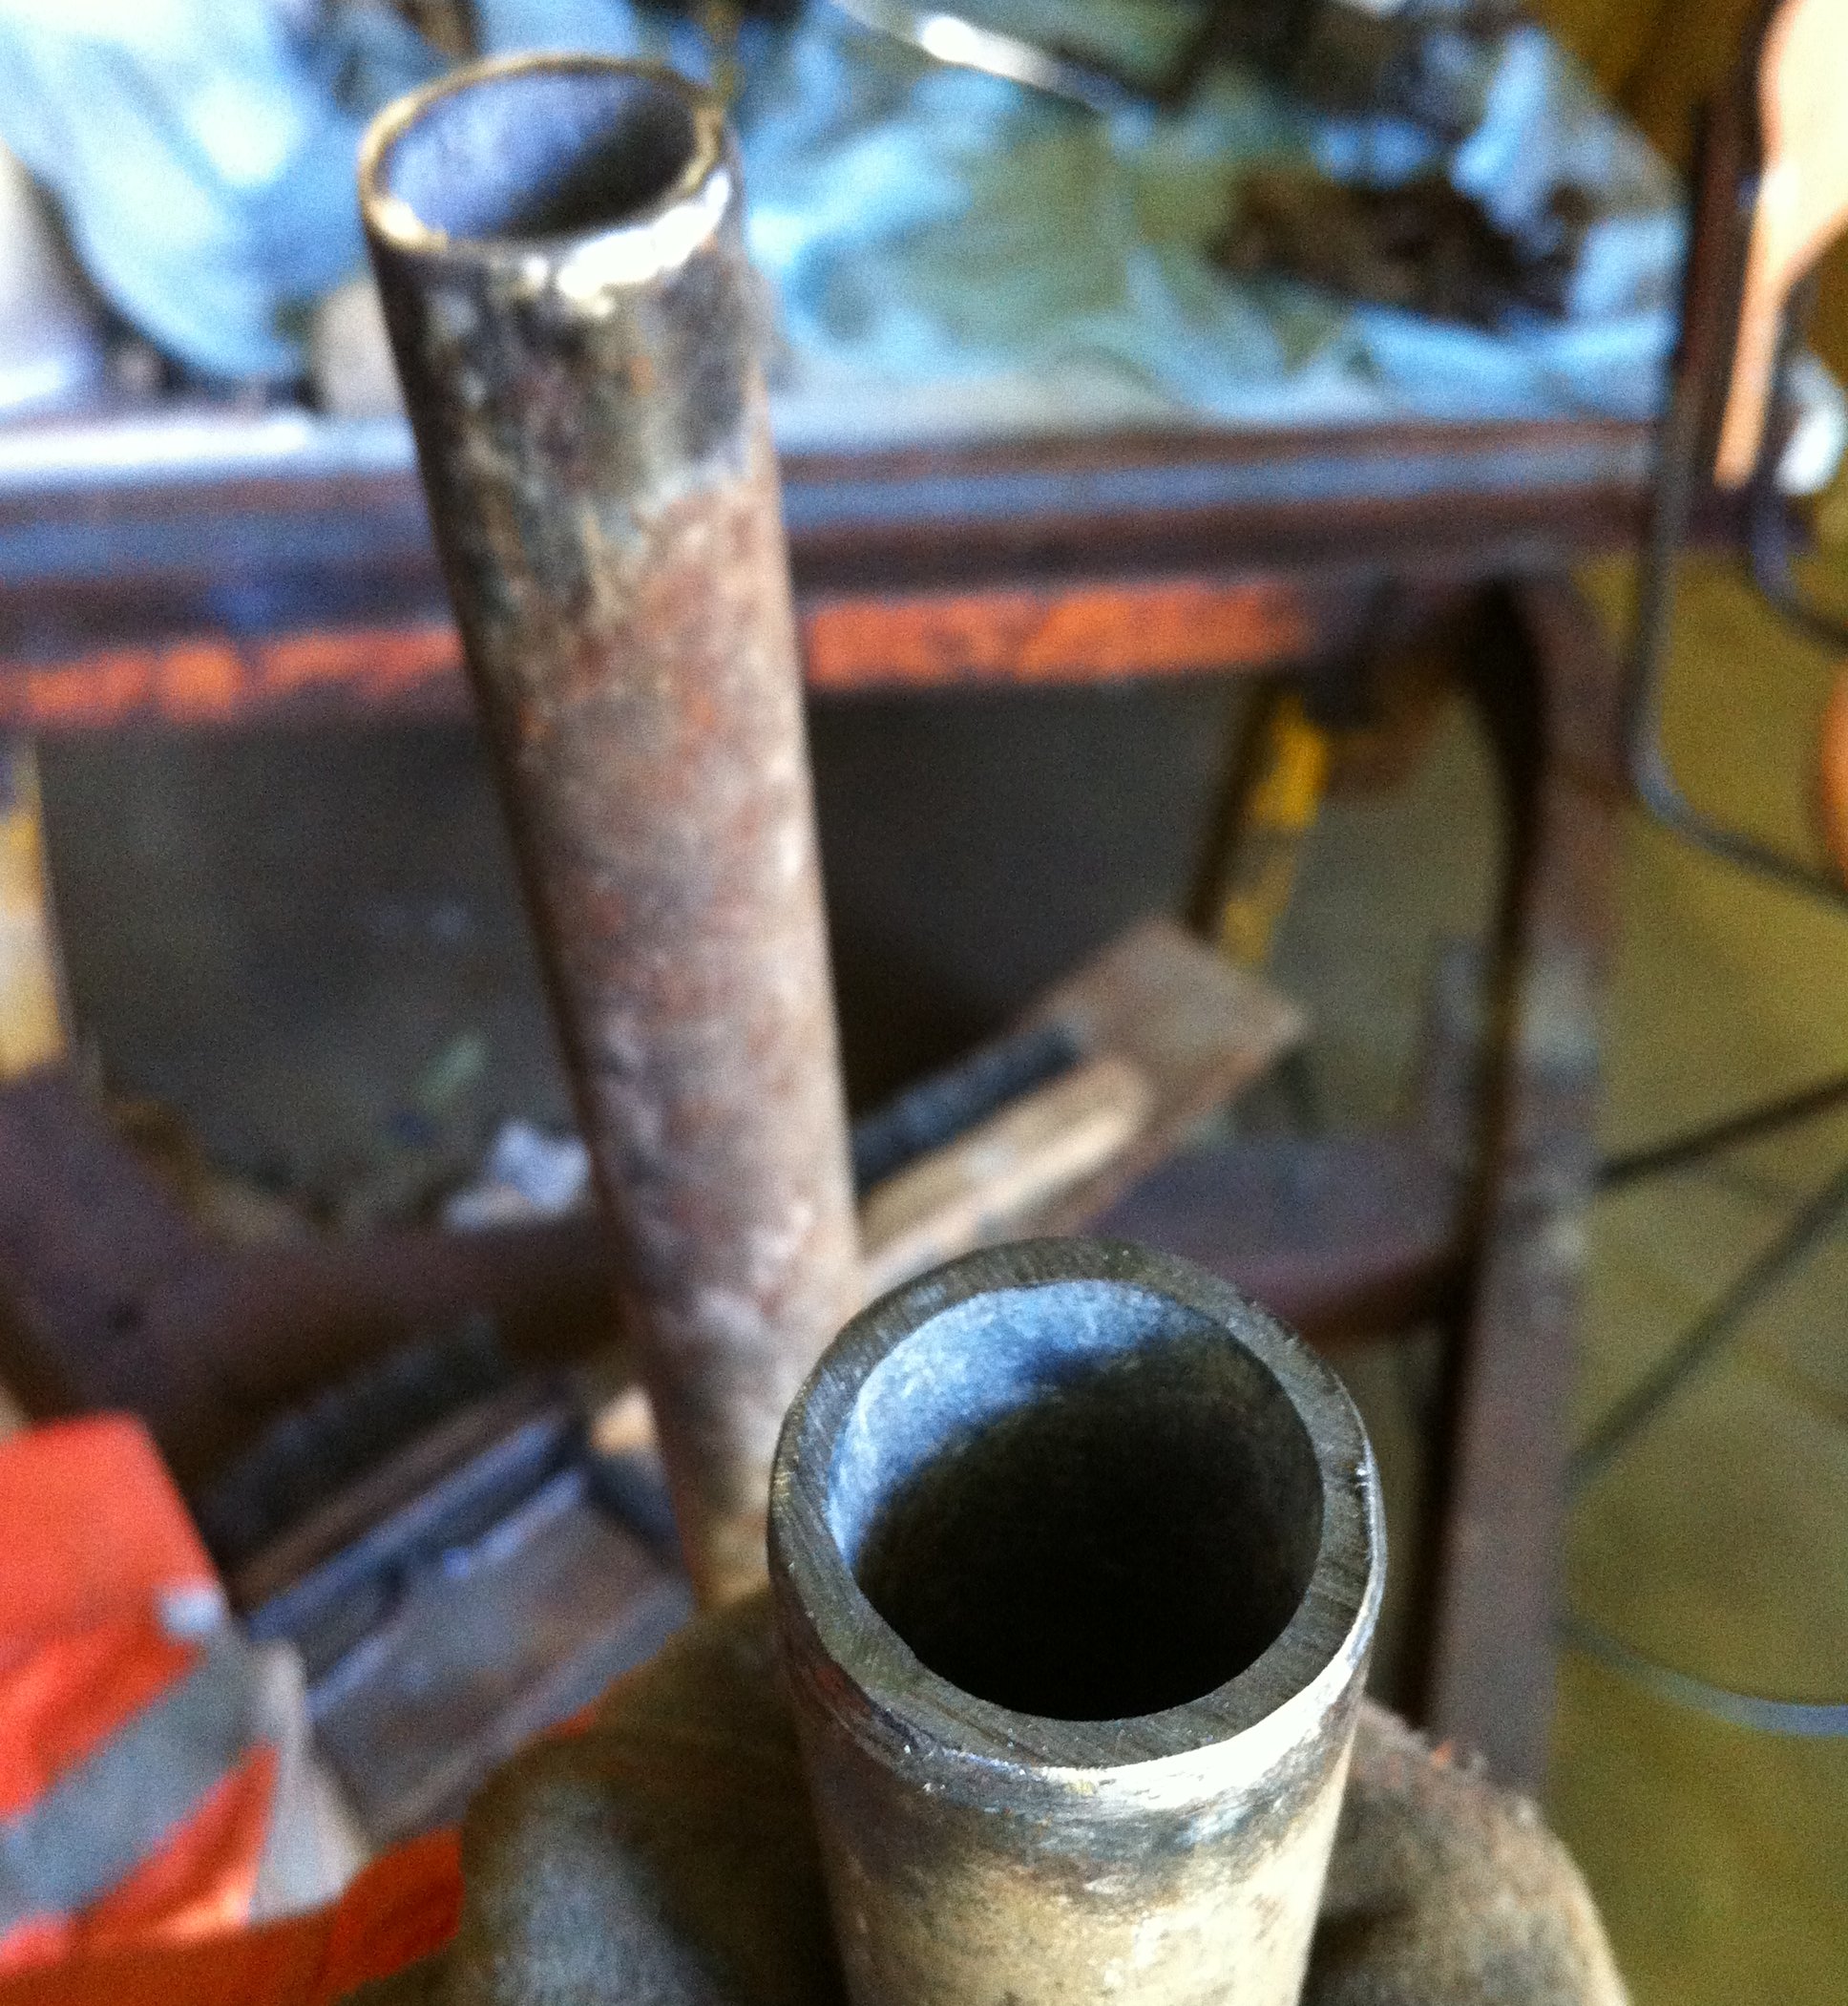
There was, for the most part, no finishing done. When I was grinding the ends after using the chop saw, I also wire brushed the worse of the dirt off. After I finished all the welding, I took a file to the two visible open ends because I couldn’t stand seeing the big burr from the chop saw.
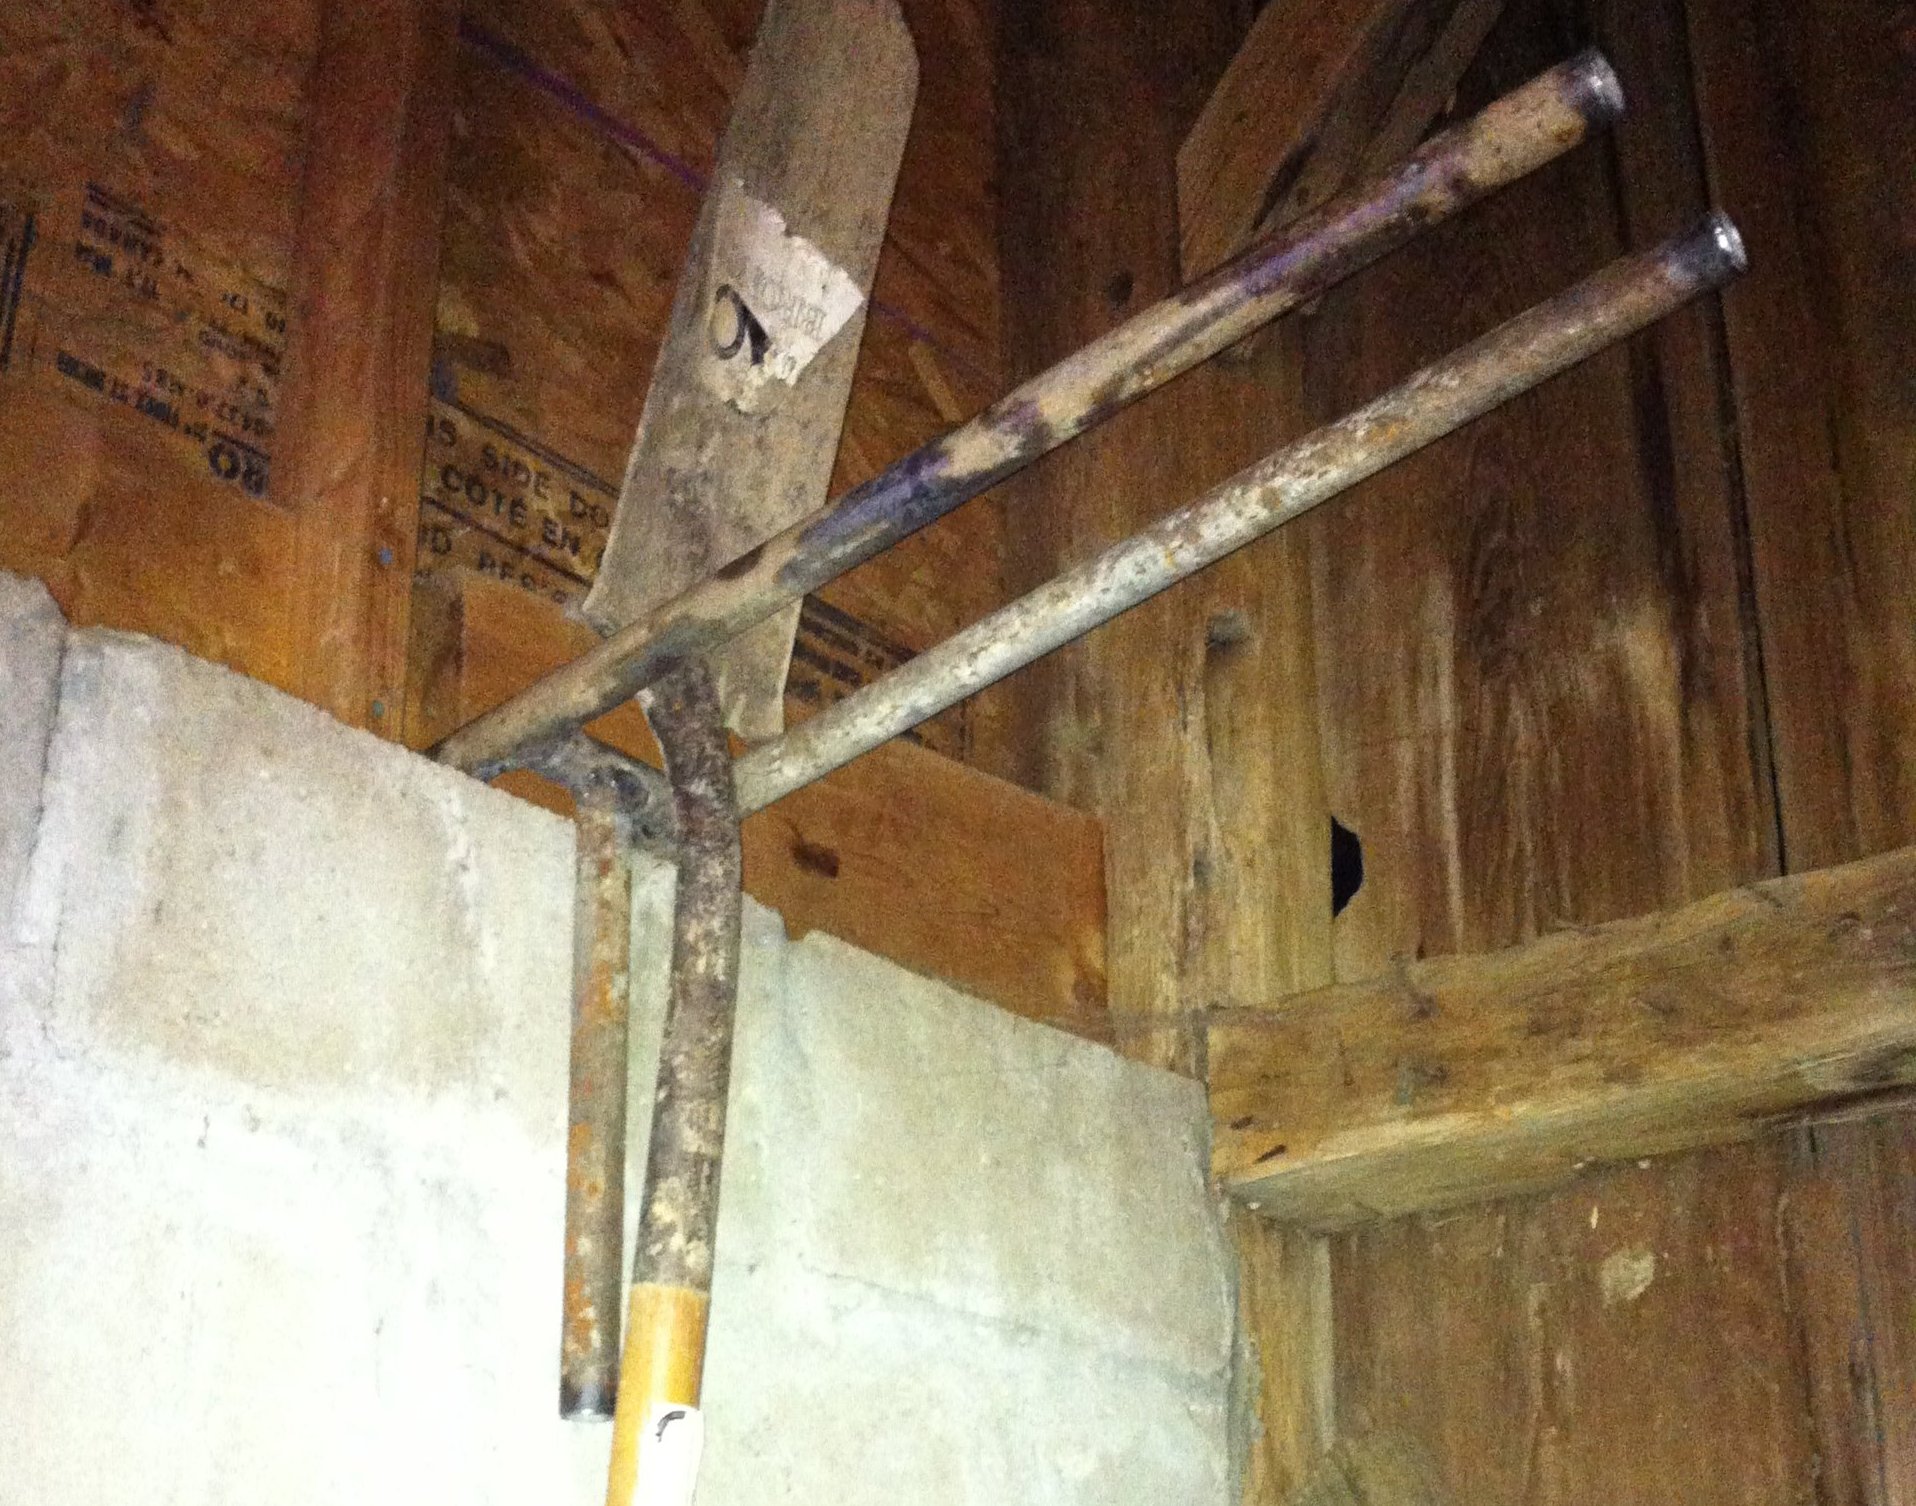
Installation
Installing it on the cinder block wall was as simple as climbing the ladder and then just sliding it right down. I was happy with how simple and easy that part was – no drilling, no fasteners, nothing. It made having an open-topped cinder block wall seem like a much more interesting design choice.
After that, I just had to put everything on the rack. It took me two tries to get almost everything on.
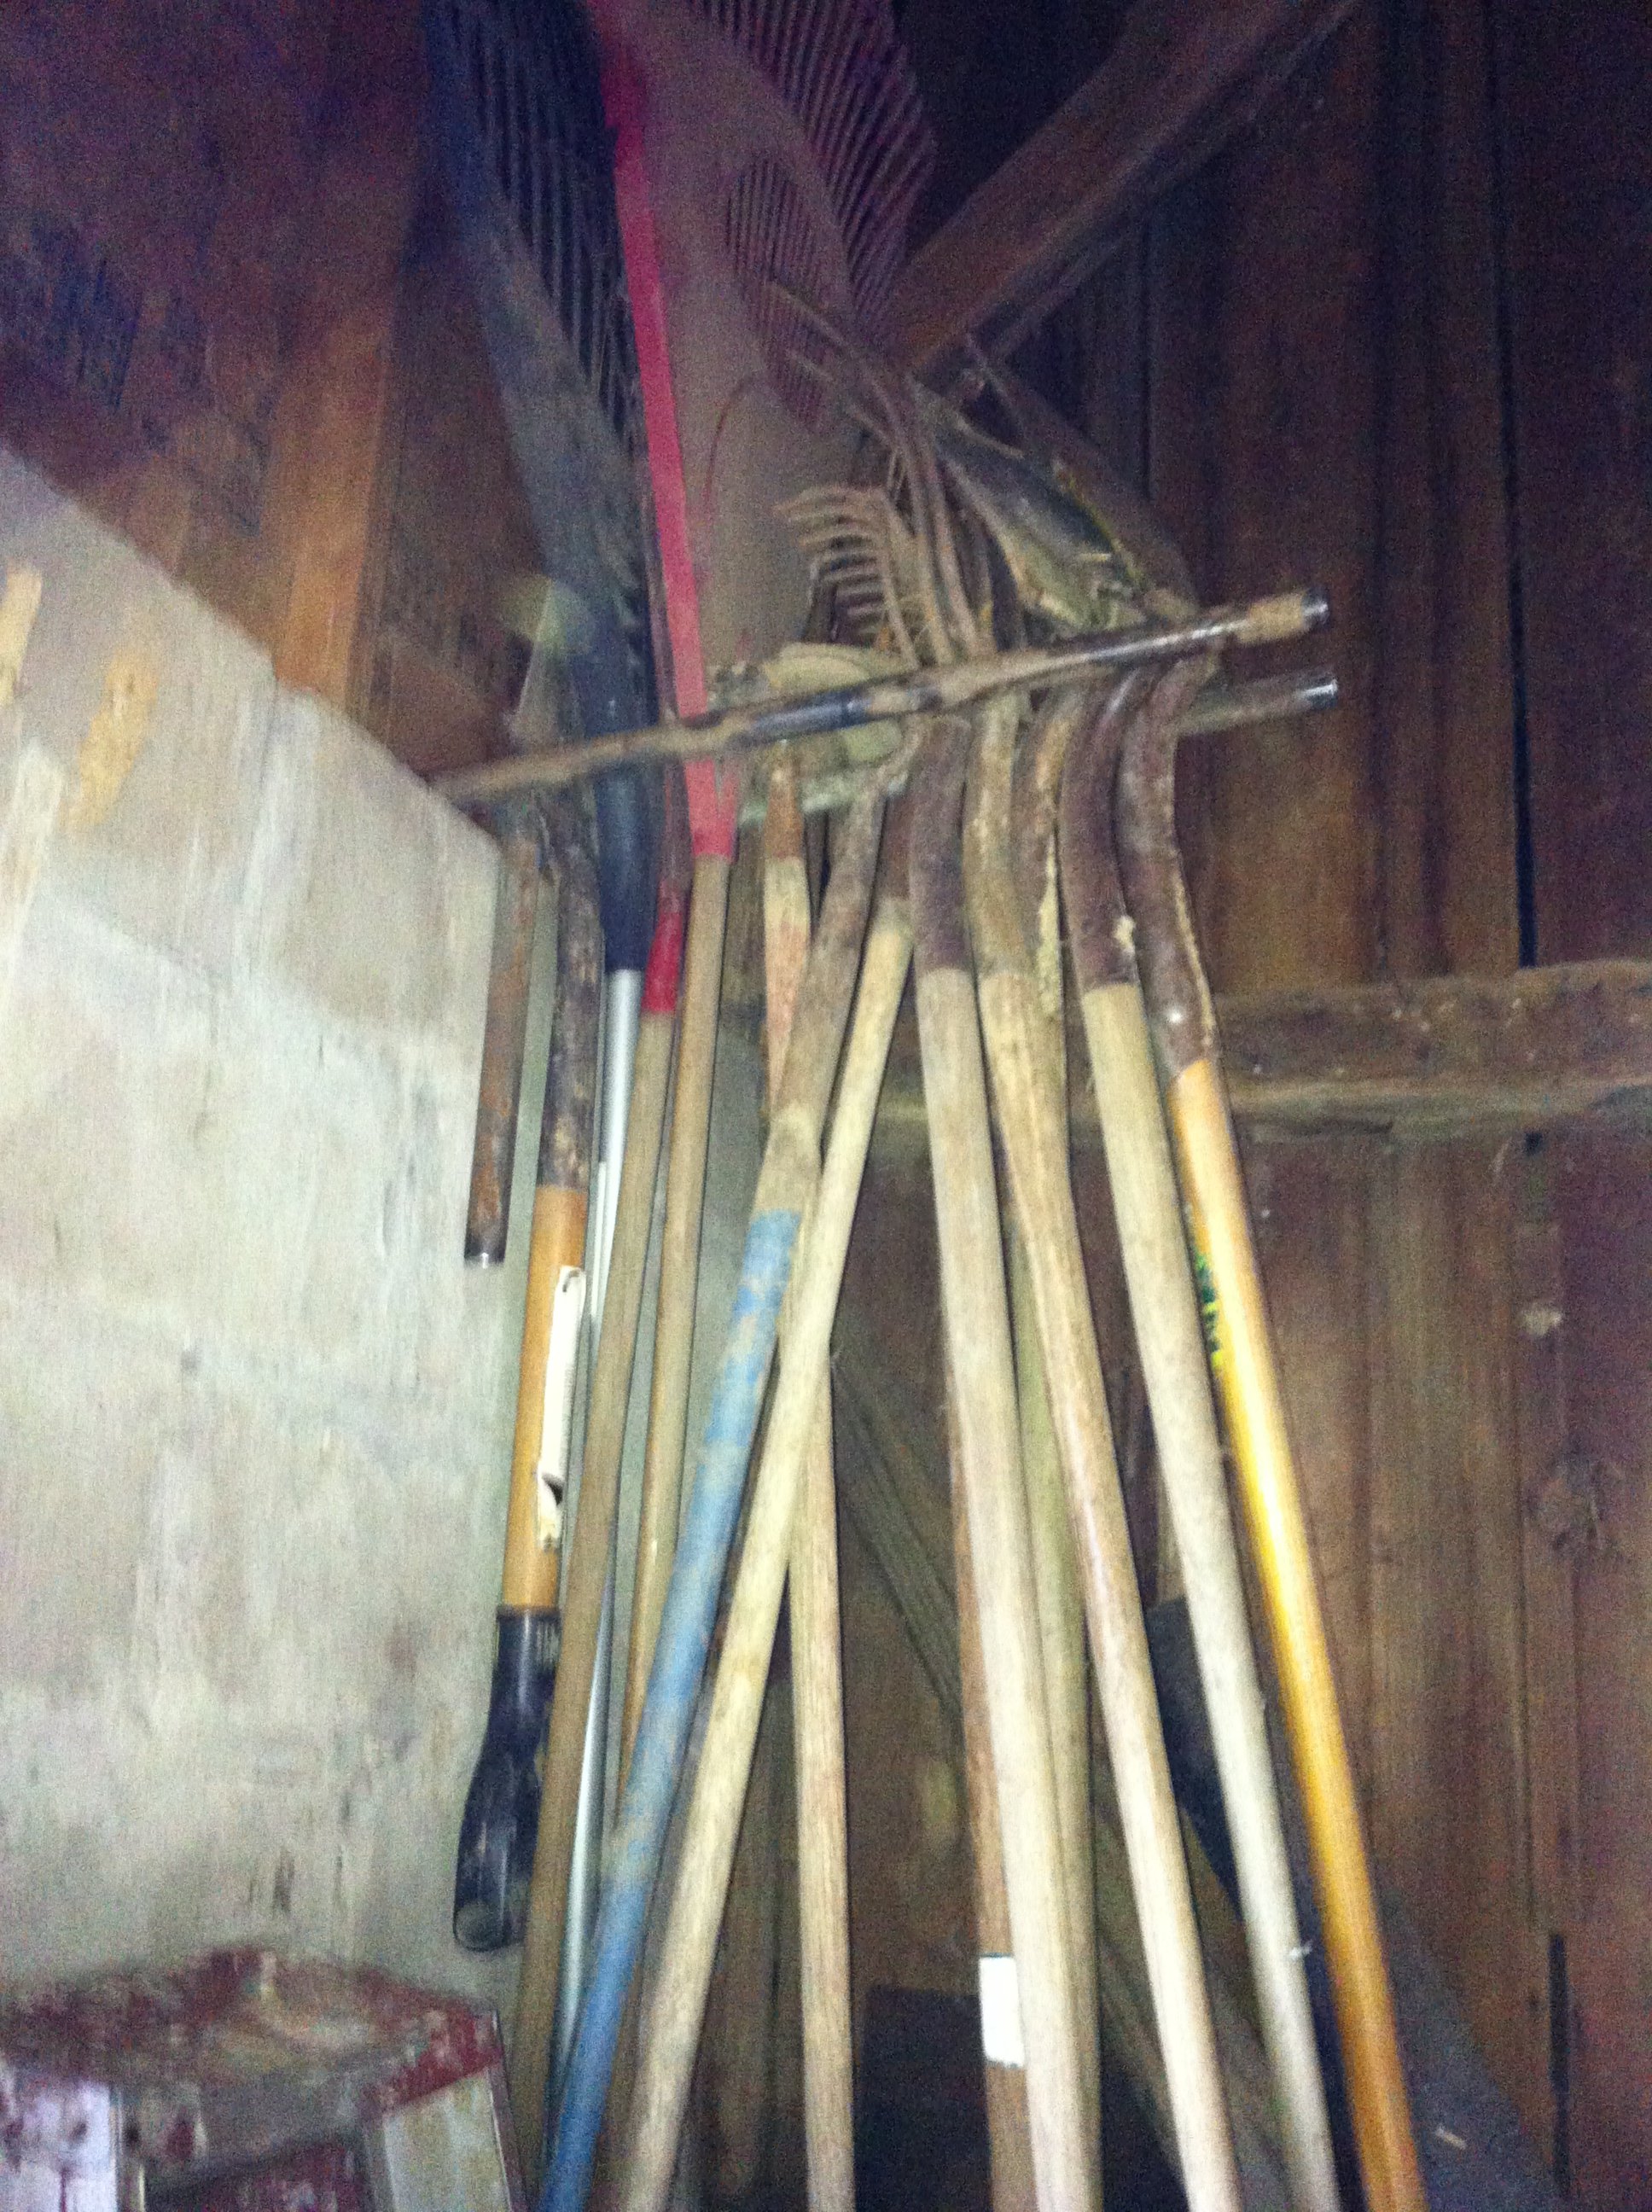
There’s already been a request for a second one. :)